The FooGallery PRO Commerce plan integrates with WooCommerce, allowing you to create a gallery directly from your WooCommerce products.
Below we take you through the steps of setting up your product gallery using the FooGallery PRO Commerce plan.
Step 1: Add Gallery
The first step is to add a new gallery, as you would for any new gallery that you want to create. You can do this by clicking on Add New from the galleries page on your WordPress site, or the Add Gallery tab in the FooGallery menu.
Step 2: Load Images
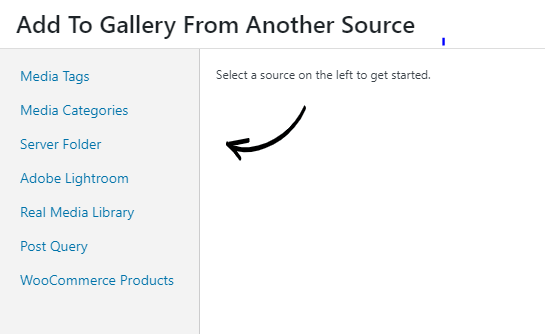
Once you’re on a new gallery page, you can add your product images to your gallery. FooGallery PRO Commerce integrates with your WooCommerce Products, allowing you to create a dynamic gallery using the images you have set up in WooCommerce. To pull these into your gallery, click on Add From Another Source.
A new panel will appear, allowing you to select your gallery image source. Select WooCommerce Products.
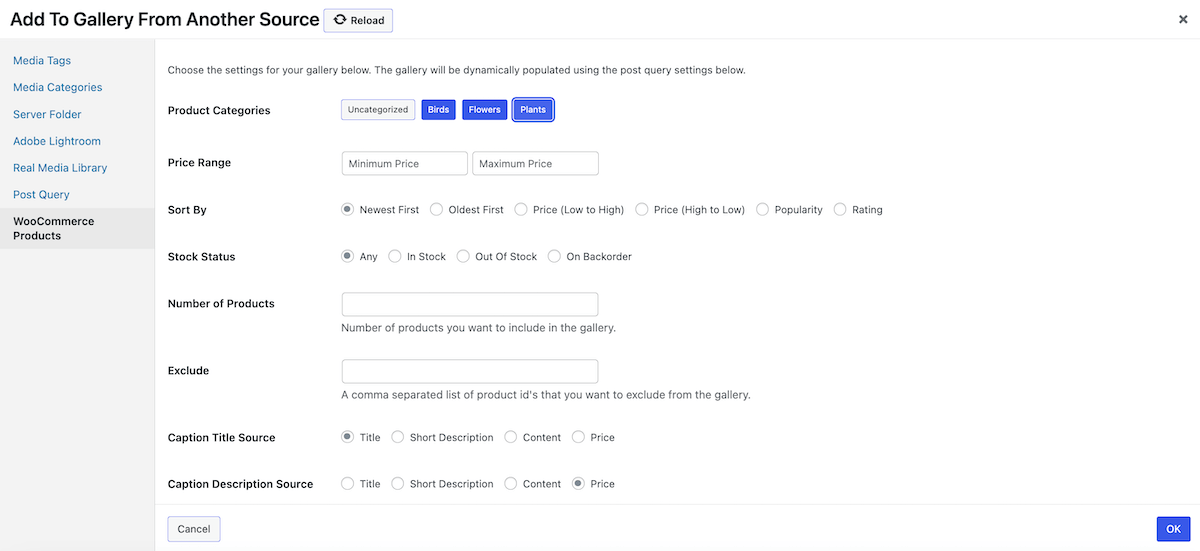
You will now be able to select specific images from within your WooCommerce product catalogue. The gallery will ask you to select the product categories from which you want to pull images. You can also set the number of products displayed and exclude any product ID’s for items you don’t want to show.
The Caption Title and Description Source are also determined here. You can choose from the title, description, content or price.
Once you have set up the gallery source, click on OK. Your gallery will now be populated with images from the selected categories. You will see a panel confirming your selections under the Manage Items tab of your gallery; to view the gallery itself, select the Gallery Preview tab.
Step 3: Style Gallery
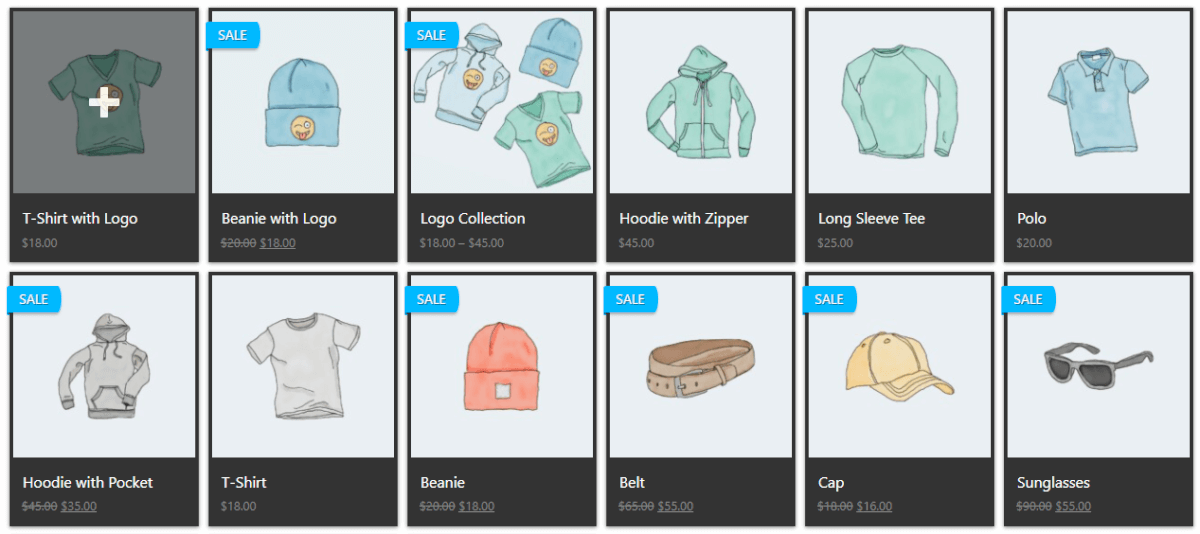
You can now style your gallery, as you would for any gallery. You can change the gallery layout, select hover effects and adjust the appearance of your thumbnails. You are also able to change the appearance of the lightbox, if you’re using the built-in PRO Lightbox.
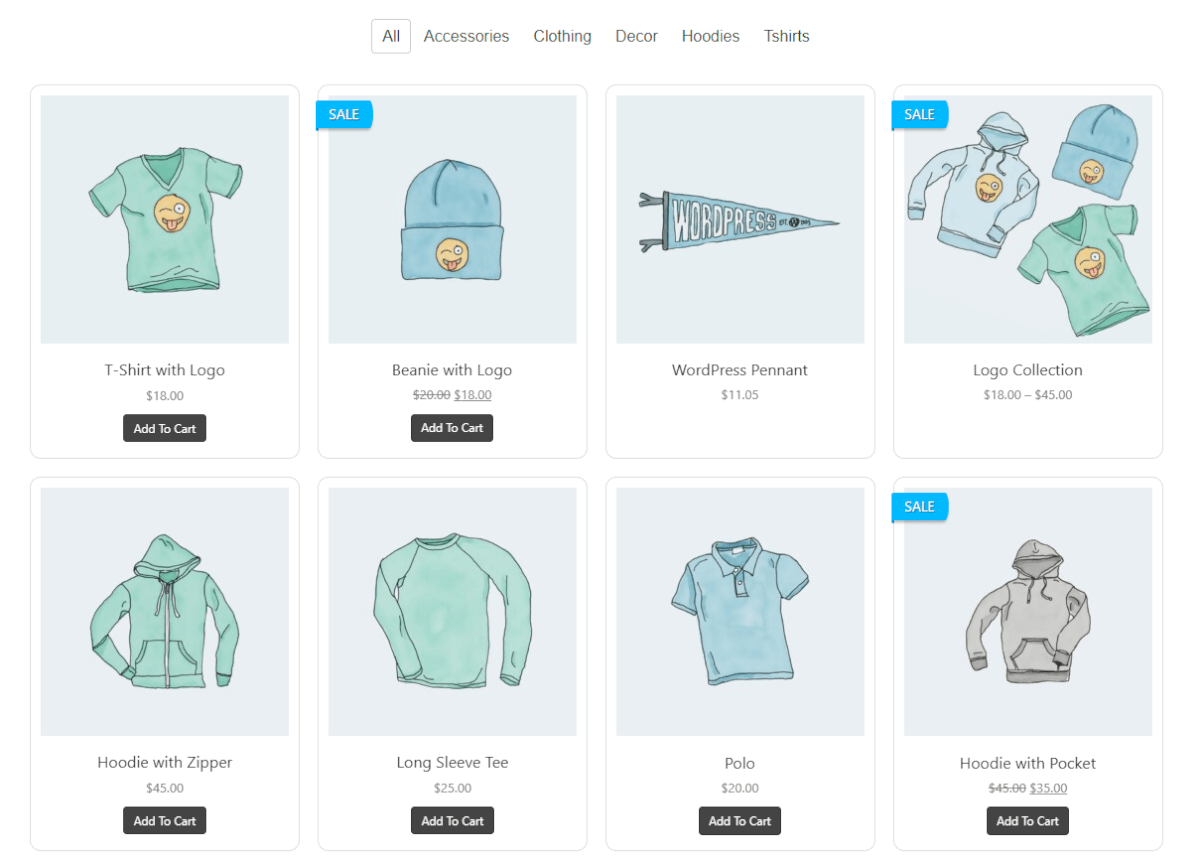
When it comes to the gallery layout, we have created a product gallery template. This layout applies various settings for commerce, including a product description in the lightbox and the Cart hover icon. It also applies Filtering using your WooCommerce categories and pulls in Sales ribbons for any items on promotion. You can adjust these settings to suit your needs.
You can, of course, select any of the available options. Note that only some of the layouts will show captions on hover, and you would need to style your gallery specifically for ecommerce if you’re using any of the gallery templates other than the Product Gallery.
Step 4: Commerce Customizations
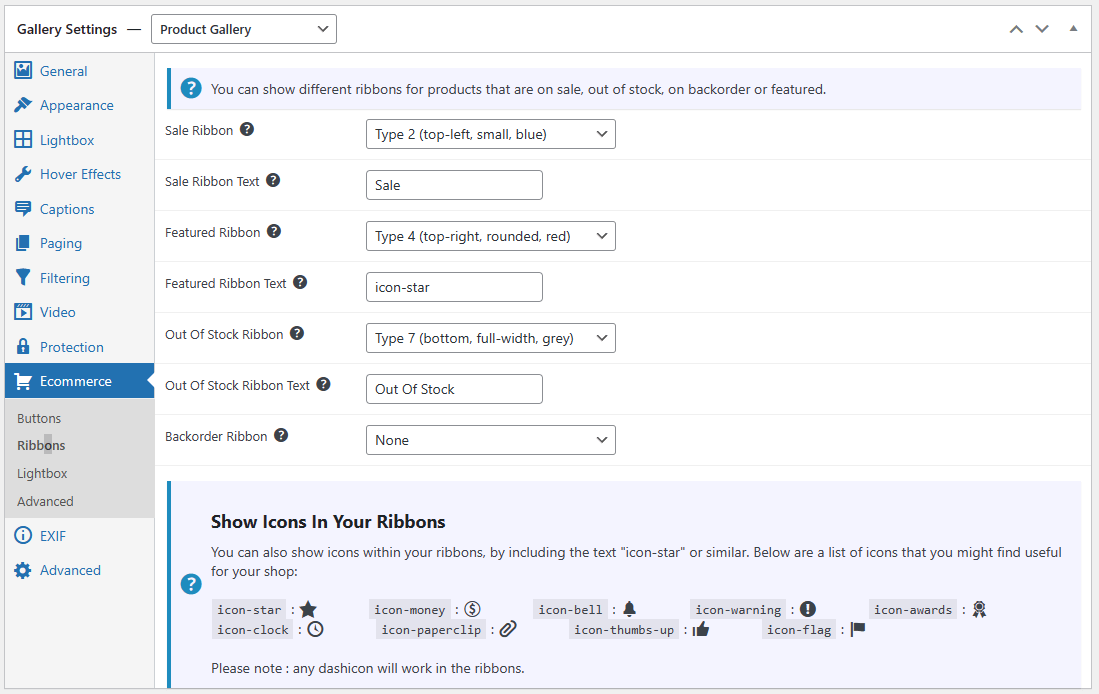
Once you have set up your gallery, you can also adjust some of the commerce settings. For example, you can add a Sales Ribbon to items that are on sale or promotion. You can select the color and position of the ribbon, and change the wording. You can also add ribbons to Favorites, or items that are on Backorder or Out of Stock.
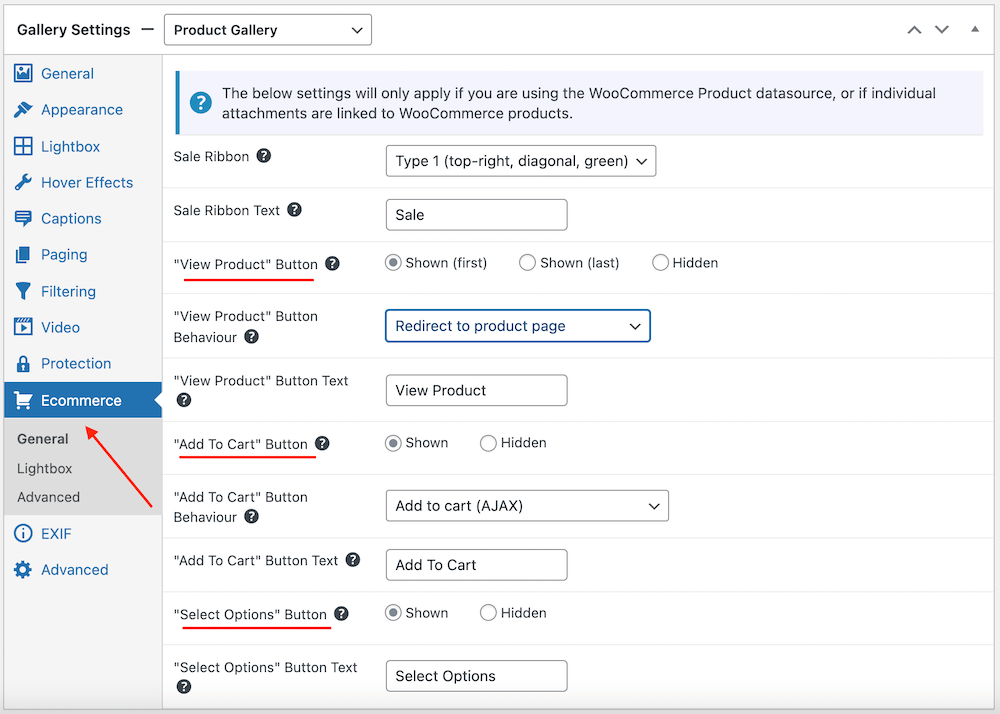
For the product, cart, and Select Options buttons, you can choose to show or hide these. For any that you select to show, you will see additional settings, such as the button text, and button behavior.
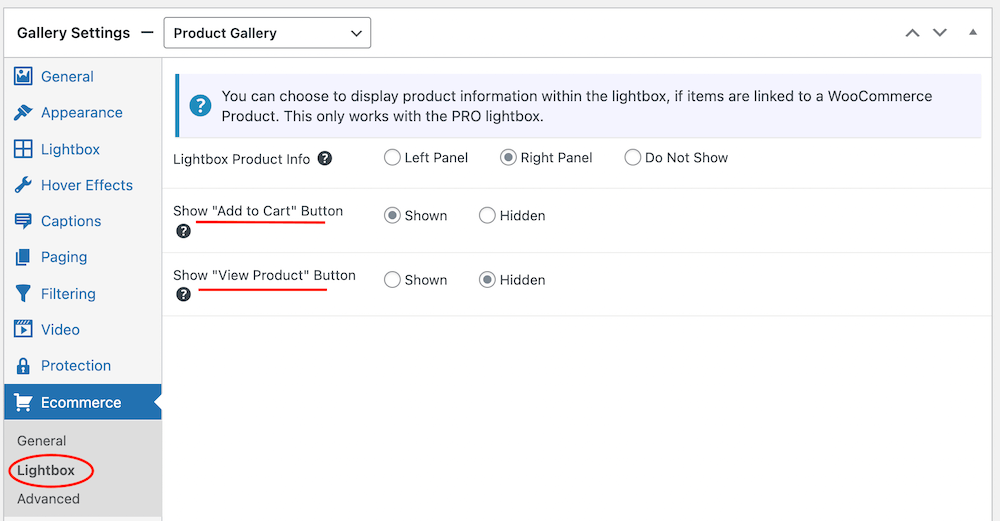
You can also make several adjustments to the lightbox. For example, you can select to show the product description of the left or right or the panel, and you can set which buttons to show.
Once you have finished adding images and setting up your gallery, you can publish it by clicking the Publish button. You can then insert the gallery into your chosen page by using the FooGallery block, or by pasting the gallery shortcode onto the page.
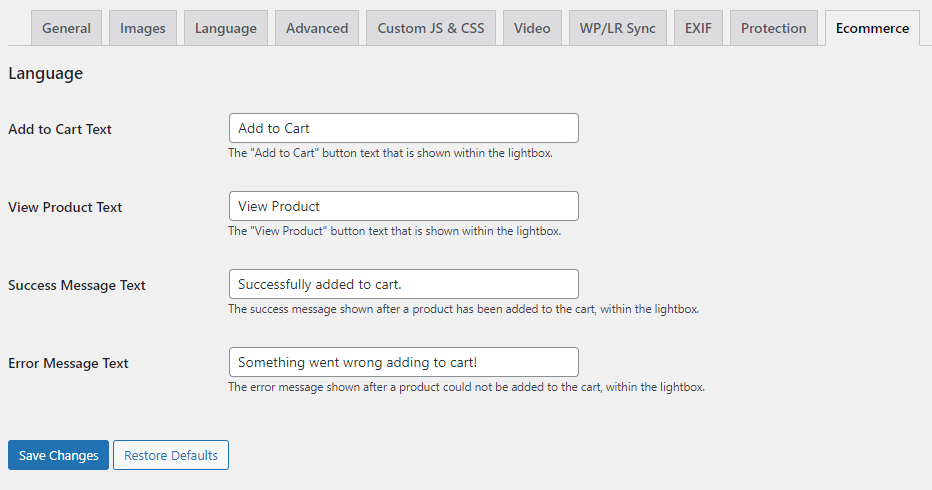
Global Settings
Under the global FooGallery settings, you will find several options for the ecommerce features. These give you the ability to change the wording or text used for several items. For example, you can change the Add to Cart button text, or you can change the wording for the Success or Error message when adding items to the cart.
If you make any changes, click on Save Changes for these to be applied.
You are also able to add watermarking to your galleries for added image protection.