FooGallery PRO Expert and FooGallery PRO Commerce allow you to add Multi-level Filtering to your gallery. With this feature, you can add multiple levels to your frontend filters, making it much easier for visitors to find and view images, especially in large galleries.
Below is a guide to using Multi-level Filtering.
How Multi-Level Filtering Works
This filtering is similar to simple and advanced Filtering available in FooGallery PRO, and makes use of tags or categories to add filters to your gallery. (We’ll refer to tags throughout this document, but the same applies to categories.)
FooGallery PRO allows you to add tags when adding or editing images in the Media Library. Once tags have been added to an image, you are able to select these as filters for your gallery. These then appear on the frontend of the gallery, so that visitors to your site can filter the gallery according to these tags.
Multi-level filtering lets you add different levels of filters. You can therefore filter a gallery by selecting a tag in one of the levels. Any image with that tag will now show in the gallery. You can filter the gallery again by selecting a tag from one of the other levels. Now, images with both selected tags will appear. You can continue to filter the gallery by selecting tags in the remaining levels.
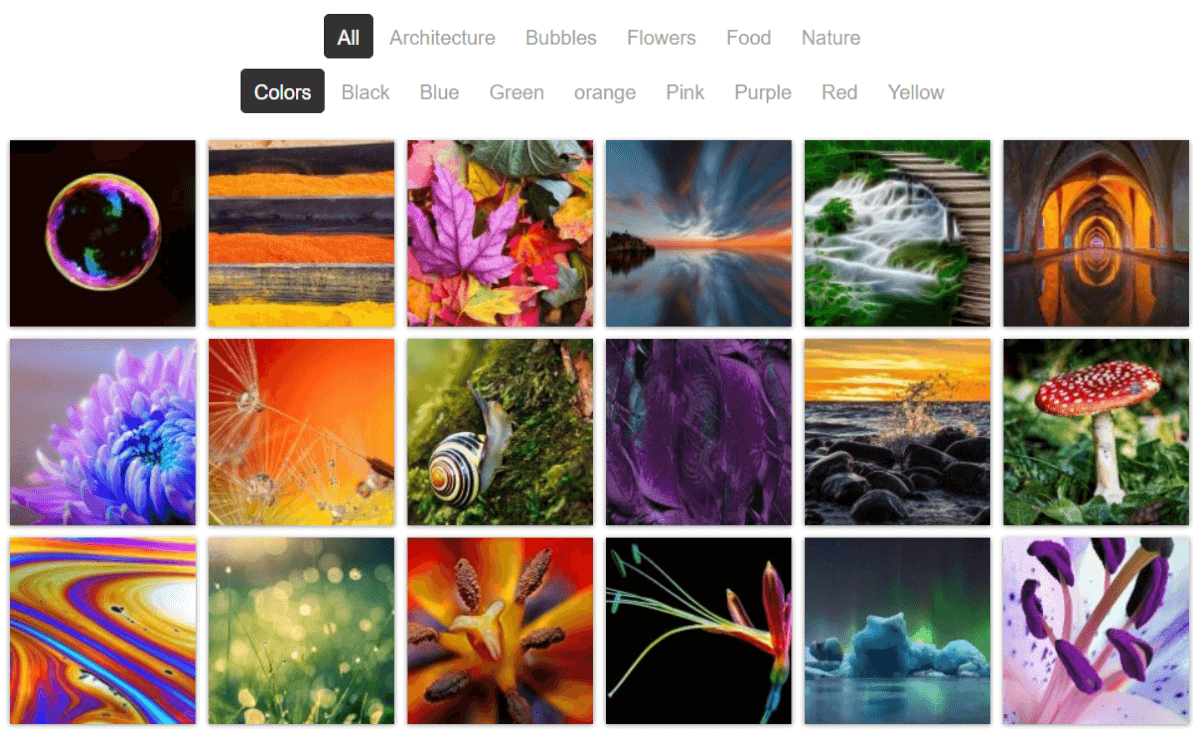
Below is a screenshot of a gallery with two levels of filters. All of the images are showing as the generic (or All) button is selected for both levels. (We explain how to change this text further on.)
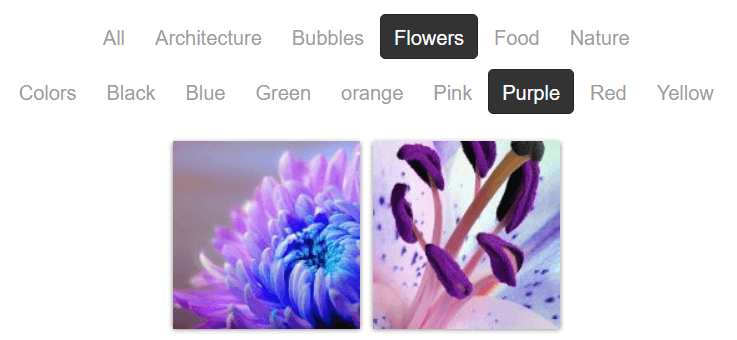
Once a filter is selected in the first level, only images with that tag appear in the gallery. Below, the filter ‘Flowers’ has been selected, so only the images with the tag ‘Flowers’ will show.

If you now select a filter from the second level, you can narrow down the images even more. Here we’ve chosen ‘Purple’, displaying only the purple flowers.
Using Multi-Level Filtering
This type of filtering is particularly useful in extensive galleries and it’s easy to set up. But the first thing you will need to ensure is that all of your images have the relevant media tags assigned to them. If you have not done this yet, we would recommend using the Bulk Taxonomy Manager from within your gallery to add tags where necessary.
Once you have set up your tags and styled your gallery, you can add your filters. For this, go to the Filtering tab in your gallery settings and select Multi-level.

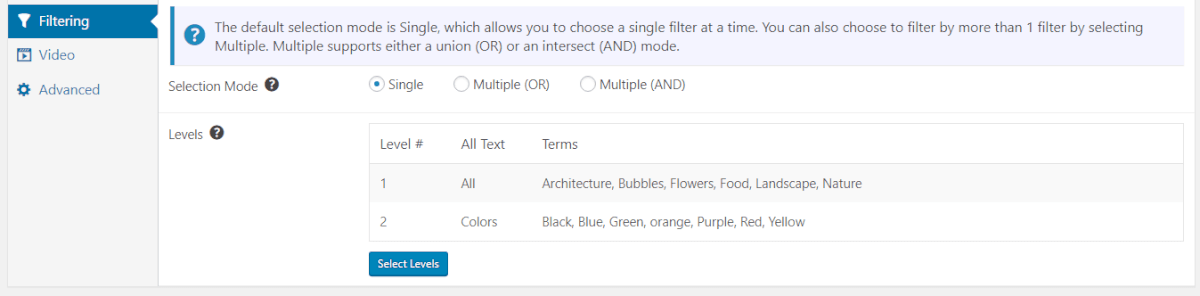
You’ll now see the various available settings for this filtering. Here you can change the theme, which makes the filter buttons light or dark. You can select whether you want to use tags or categories and you can choose where the filters will appear in relation to the gallery. You are also able to set the filters to apply a single filter per level, or multiple (And / OR) filters per level.
Once you have chosen your settings, you are ready to set up your levels. Click on Select Levels.

You will now see a panel displaying all of the tags assigned to your media items. It will also display some basic Multi-level Filtering Help on the right of the panel.
To get started, select the tags or filters that you want to use for your first level. These will now not be available for your other levels. There is also a field displaying the text used for the All button – when this button is applied in the gallery, all the images in this level will display. Here you can change the text in this field. You are also able to drag and drop the filters to rearrange their order.
To create a new level of filtering, click on Add Another Level. You will now see all of the remaining tags available to you. Click on the tags that you want to apply in Level 2. You can continue to repeat these actions to create new levels of filtering. Note that any tags used in the previous levels will no longer be available to you.
Once you have finished, click on Set Levels.

You’ll now be returned to your gallery settings, where you will see the filtering levels you have just created. Should you need to edit these in any way, or add more levels, you can click on the Select Levels button again. This will take you back to the previous panel, where you can make the necessary changes.
Once you have finished setting your levels, you will see them applied in your gallery. Once published on a page, visitors will be able to use these filters to sort through the images in the gallery.