FooGallery PRO Expert and FooGallery PRO Commerce allows you to add or edit your tags and categories in bulk with the Bulk Taxonomy Manager tool. With this, you are able to view the tags or categories allocated to an image. You can also add or remove tags or categories. Alternatively, you can see which images are assigned to which tags or categories.
You can access this features from the Manage Items panel of your gallery.
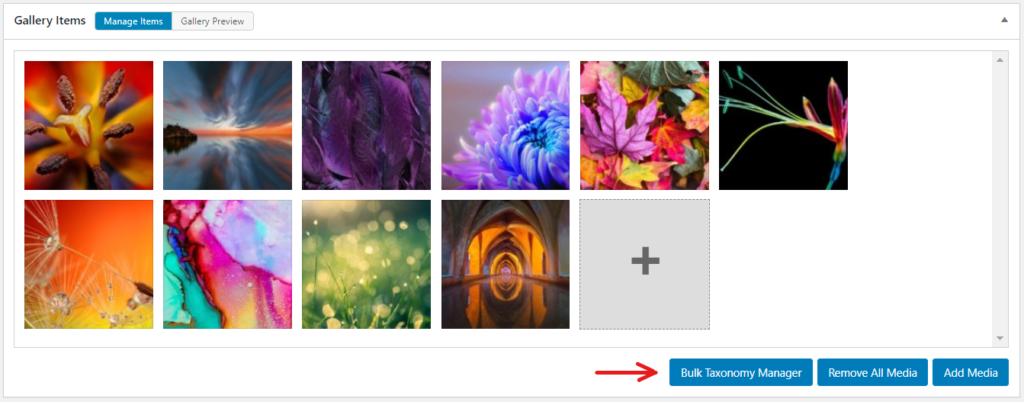
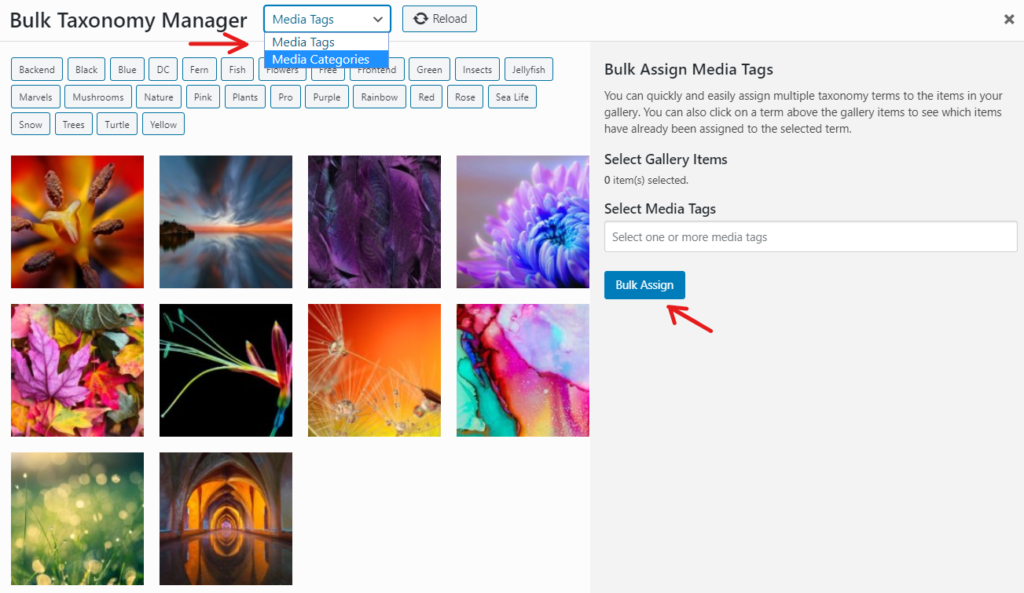
Once you click on this button, another screen will open, displaying the images in the gallery on which you are working. You’ll also see all of the tags assigned to images on your site, as well as a panel where you can add tags. At the top of this panel, you’ll have the option to switch between tags and categories.
Using the Bulk Taxonomy Manager
Once you have selected Tags or Categories, you can view, add or edit the ones assigned to the images in the gallery. We’ll explain how to do this using Tags, but the categories work in the same way.
Add Tags
To add a tag to one or multiple images in your gallery, start by clicking on the relevant images. once selected you can add one or more tags in the panel on the right of the screen. When adding a tag, you should see suggestions appear based on pre-existing tags on your site. You can select from these, or add new ones.
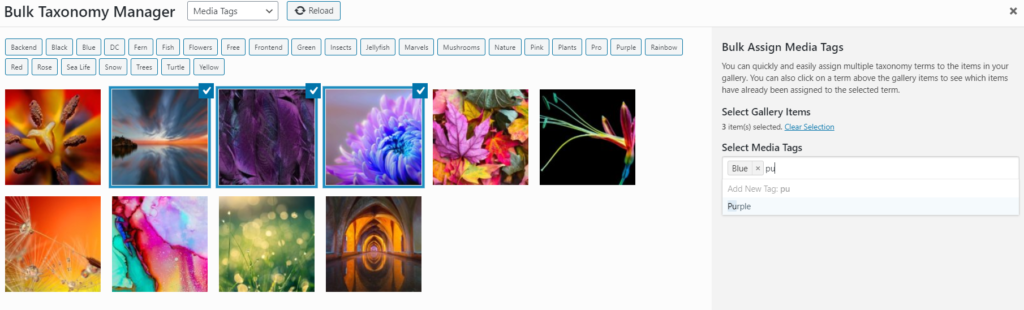
Once you have added the tag/s to the images you have selected, simply hit the Bulk Assign button and the tags will be added.
View Tags
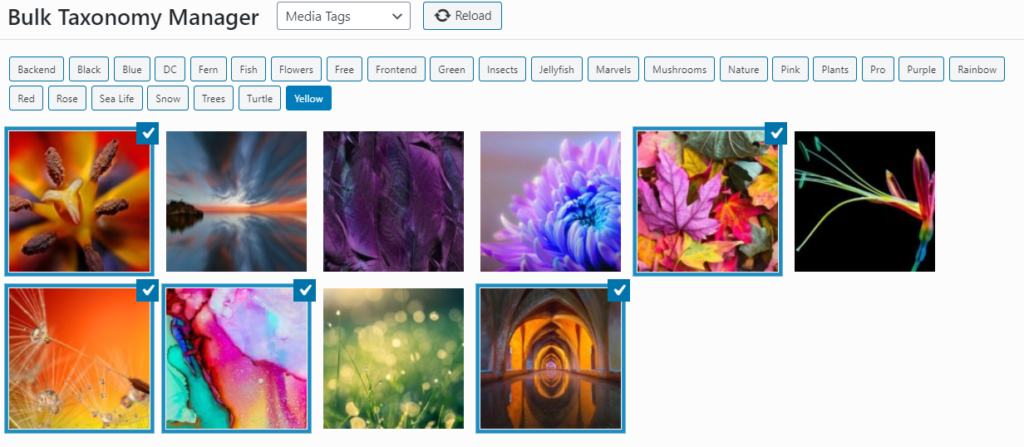
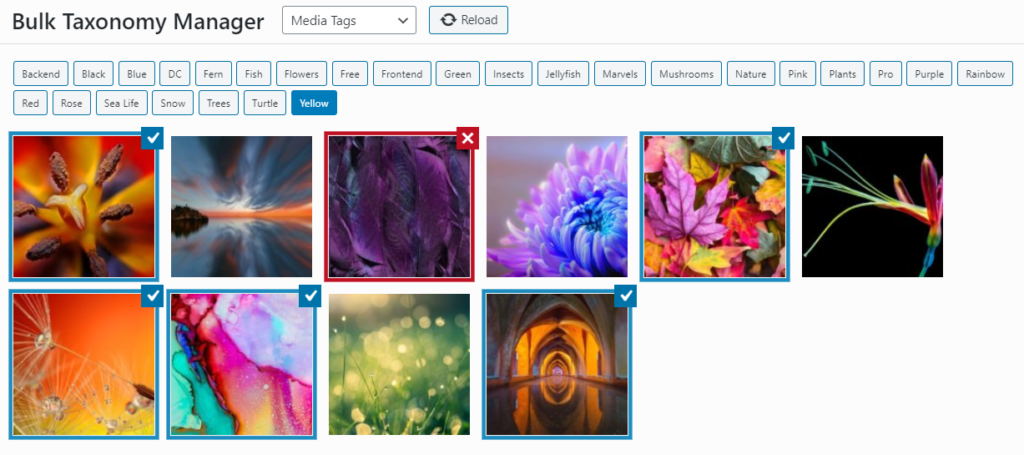
To see which images are assigned to which tags, click on the tag you want to view. The images with this tag assigned will display a blue tick in the top right corner.
Edit Tags
When you select a tag from the list above the images, you are also able to add this tag to other images. You’ll notice that the selected tag appears in the panel on the right of the screen. So to add this tag to other images, select the additional images and click on Bulk Assign.
Likewise, you can remove images from a tag. To do this, select the tag you want to view. The relevant images will display the blue tick in the top right corner. If you want to remove the selected tag from one or more of the images, click on the tick. It will now display as a red cross. Once again, click on Bulk Assign. You’ll see a notification appear telling you how many images are assigned to the tag, and how many have been removed.
Once you have made any changes, including adding tags to your images, you can refresh using the Reload button at the top of the screen. When you have finished reviewing and editing your tags, click on the Close button on the bottom right and you will return to your gallery.