If you have a WooCommerce store on WordPress, or manage product images for clients’ websites, you may be struggling with slow page loads, decreasing visitors, frustrated customers, and sluggish conversions. This is often caused by large product image sizes or inconsistent dimensions. (https://fujifilm-x.com) Optimizing product images is essential for an eCommerce website in order to resolve these issues.
At the same time, you want product images to display in high quality, because they are a key sales driver. So, your challenge is to find the right balance between image size and image quality.
WooCommerce enables you to add several types of product images and your theme will manage optimal image sizes by default – but you should consider installing a plugin that also lets you display optimized custom product images elsewhere on your site, giving you greater freedom.
In this article, we cover everything you need to know about optimizing both default product images and custom product images and show you how to set up product galleries using a WordPress plugin called FooGallery PRO, which automatically adjusts image size and fully integrates with WooCommerce. Let’s dive in.
What Are Common Types of Product Images?
WooCommerce supports product images of several different sizes including featured images, gallery images, product thumbnails, product variation images, and zoom images. The best sizes for these different images will depend on your WooCommerce theme. While WooCommerce has default sizes registered for these images, your theme developer may have adapted them. Let’s look at the most common WooCommerce product images in more depth:
Single Product Page Featured Images
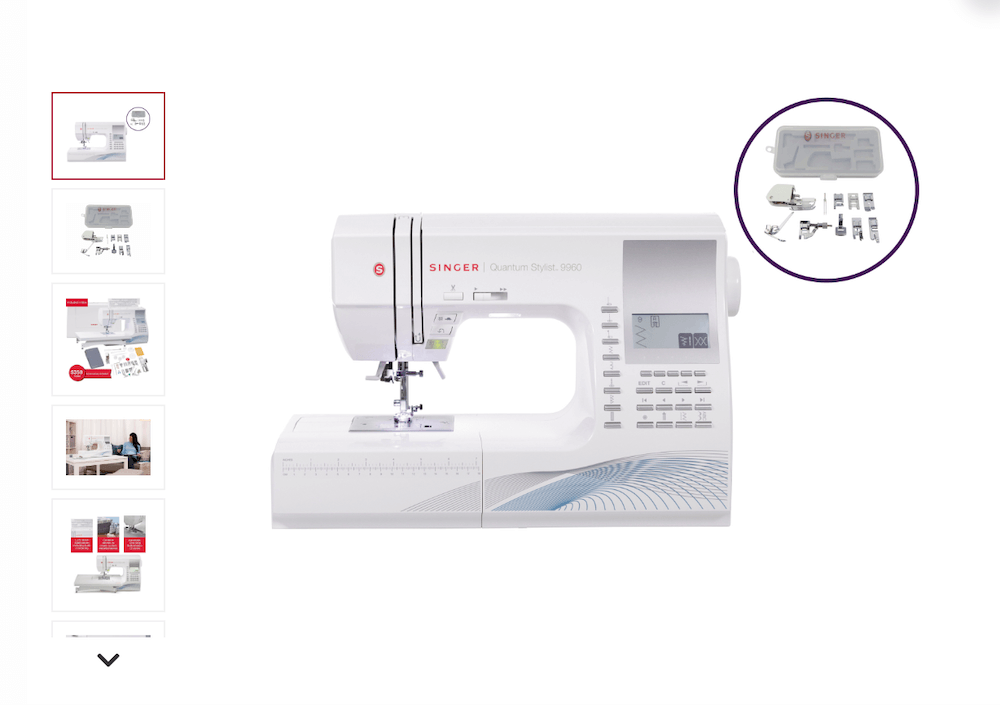
A single product page featured image is the main image displayed on any individual product page. It is the largest of the image types and is used to showcase the product in all of its detail, giving customers a clear and accurate representation of the item. For this image type WooCommerce recommends a size of at least 800 x 800 pixels, to ensure high-quality display on various devices (for rectangular images, your main image width should still be at least 800 pixels).
Gallery Thumbnails
Gallery thumbnails are small images displayed alongside the featured image on a product page, allowing customers to see more images of the product, perhaps from different angles or showing specific features. These WooCommerce thumbnail images help to give customers a more comprehensive understanding of the product. WooCommerce recommends a size of around 100 x 100 pixels for gallery thumbnails.
Shop Page Product Thumbnails
Shop page product thumbnails are small(ish) images displayed on the main shop or product category pages, providing a quick overview of products available in the store. These thumbnail images attract customers’ attention and encourage them to click through to individual product pages. For these, WooCommerce recommends a thumbnail image size of around 300 x 300 pixels for optimal display.
In addition to these image types on WooCommerce, you may want to display custom product image galleries elsewhere on your site, to drive visitors to the eCommerce store. Such galleries are important, because they let customers interact with your product images in more dynamic and engaging ways than WooCommerce’s default functionality enables. To create them, you’ll need a suitable plugin for your WordPress theme; we’ll come to that in a bit!
The Benefits of Optimizing Your WooCommerce Product Images
There are two aspects to optimizing your product images:
- As mentioned, your WooCommerce theme will set optimal image sizes for your products and adhering to them means you’ll get the best results. Whenever you set up product images in the backend, you’ll see that they have clickable information icons next to the ‘Set product image’ and ‘Add product gallery images’ options, with information about recommended sizes.
- If you want to display custom product images anywhere else on your site, you’ll need to determine the best size for them – bearing in mind the drawbacks of larger images. Size largely depends on where and how you’re going to display them, for example as a hero image on your home page, or in image galleries on other pages.
In either case, optimizing your product image sizes will give you the following benefits:
- A better user experience: Displaying product images at the wrong size can result in blurry images, diminishing customers’ appreciation of your products. By contrast, having consistent and properly sized images can enhance your products’ perceived value, turn browsers into buyers and make your website look more professional and appealing overall. (Take a look at our guide on mastering product photography for some extra tips.)
- Faster page loads: Images can make up over 50% of a website’s bandwidth and large images can slow loading time, negatively impacting the user experience or even chasing visitors away. Optimizing product images means reducing their size without sacrificing their quality, resulting in faster page loads and better website performance.
- Increased conversions: Optimized product images can lead to higher conversions. In one survey 86% of online shoppers reported being influenced by product images—and even before that, your visitors need to become shoppers. Websites with high-quality images that load briskly are less likely to cause first-time visitors to log off before becoming shoppers.
- SEO benefits: Sites that load slowly—especially on mobile—can be penalized by search engines and drop lower in search results. This is certainly the case with Google. Optimizing product images improves search engine rankings. In addition, optimized images are more likely to appear in image search results, driving more organic traffic to your website (note: to further speed up your site, you should also consider using a Content Delivery Network (CDN).
Choosing the Best Image Sizes for Your WooCommerce Products
Besides simply adhering to your WooCommerce theme’s default sizes for images, there are other ways to decide on the best size for any image. Here are some tips:
- Ensure device compatibility. It’s important to consider various devices and screen sizes in choosing image size, as visitors might be accessing your site from desktops, laptops, tablets, or smartphones. You should have responsive images that will adapt to different screen sizes and resolutions, for a seamless user experience. It’s a good idea to test how your product images look on desktop (largest screen) and then on mobile (smallest screen). They should still load clearly yet briskly, or you’ll need to adjust their size a bit.
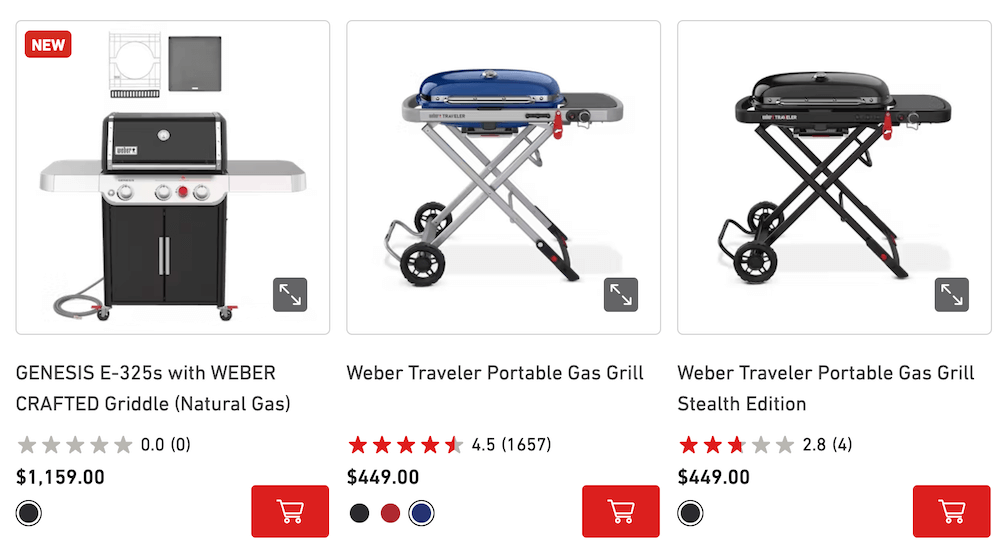
- Ensure aspect ratio consistency. Aspect ratio is the ratio of an image’s width to its height, for example, 16:9. It’s best practice to use a consistent aspect ratio across all product images, to provide a uniform user experience when it comes to image dimensions. An inconsistent aspect ratio can lead to a poor user experience and negatively impact the website’s aesthetics. Common aspect ratios used for online product images are square (1:1), portrait (3:4), and landscape (4:3).
- Test and adjust. Continually test different image sizes and aspect ratios to determine what works best for your specific needs. You can make changes based on your site’s performance, overall aesthetics, and possibly, user feedback via a WordPress survey plugin (customers will likely appreciate your efforts to give them the best possible browsing experience).
Ways of Adjusting WooCommerce Product Image Sizes
You may at times want to get around the default image sizes for WooCommerce – and there are a few ways to do this. They vary in difficulty and achieve different things, so we’ll mention which method would best suit different purposes.
Method 1: Change the Built-In WooCommerce Image Settings
When you add product images to WooCommerce (featured images or gallery images) from the media library, you can override the default height and width. This is an easy “fix” for eCommerce store owners who want to upload larger images and have them display better on the frontend – but it’s not the best approach as your images will not be properly optimized, only resized. This means that they could still slow down your website.
Method 2: Override the Default Image Sizes with Custom Code
This method applies to store owners who like their theme but want to override its default image sizes. This method is only recommended if you have technical knowledge or can work with an experienced developer who knows what they’re doing.
You can do this by editing your theme’s functions.php file (always work in the child theme). You can additionally use CSS and add a code to your stylesheet, which ensures that product images are always displayed at their original aspect ratio and won’t be stretched or distorted.
Method 3: Use Photo Editing Software
Photo editing software, like Adobe Photoshop or GIMP, can be used to manually adjust and optimize product image sizes before uploading them to your site. This is a good route to go for any eCommerce store owner, as it’s the best way to ensure that your images are the exact size they should be.
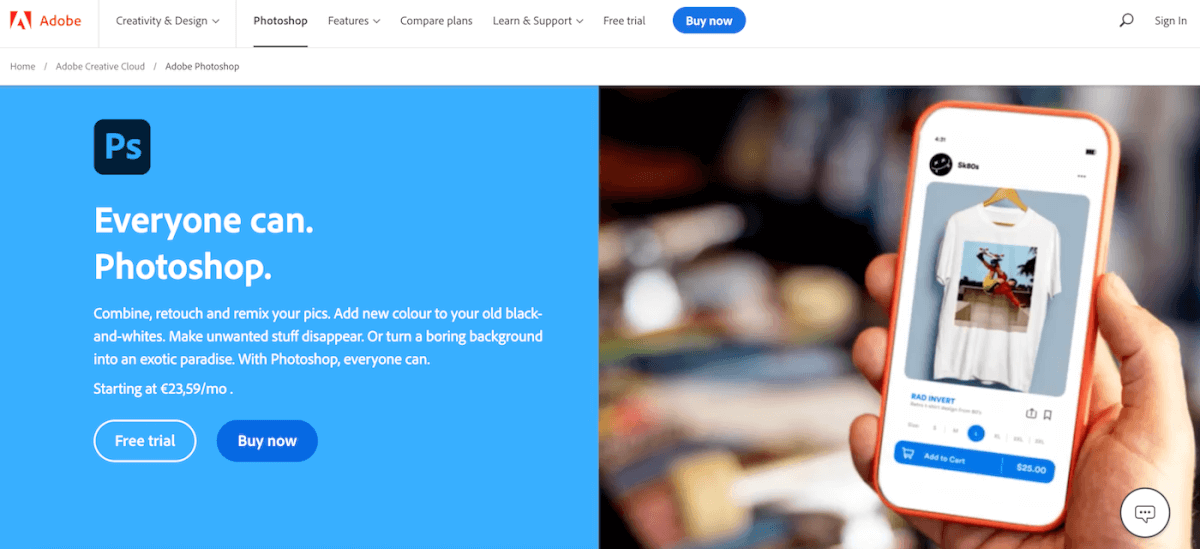
If you’re selling products, it’s in your best interest that they look great on your website and, although learning how to use editing software to make various improvements to your images requires a small learning curve, it’s well worth it (if you only want to adjust images’ size before uploading them, the learning curve will be minimal).
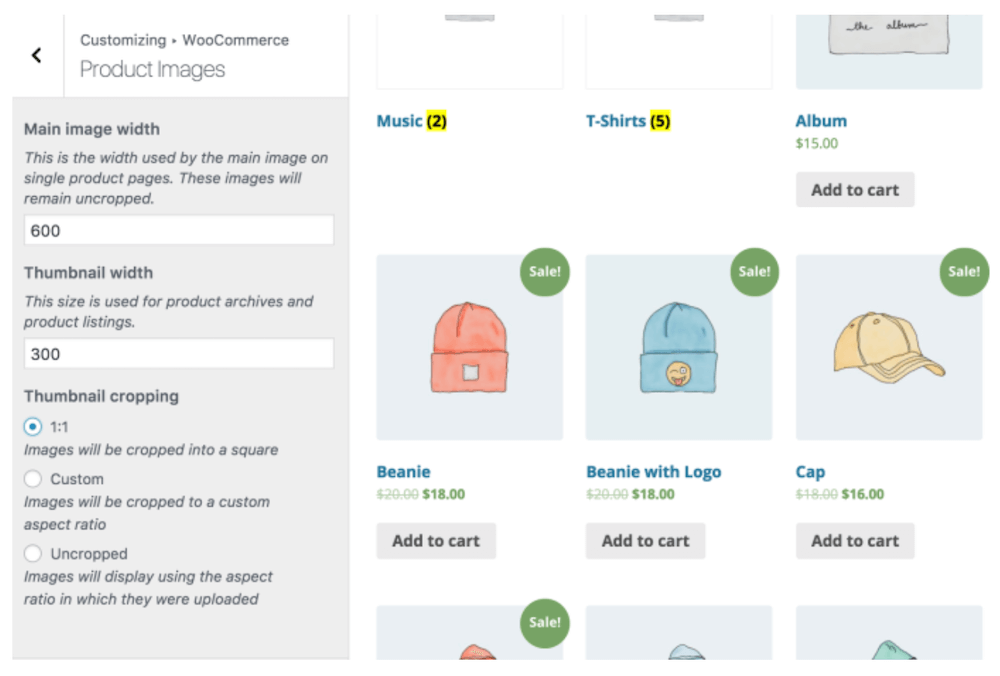
One query we often get from WooCommerce users is how to get around awkward cropping of product images, where sometimes the top and bottom of a product are cropped off. You can make WooCommerce images uncropped by going to Appearance > Customize > WooCommerce > Product Images > check Uncropped, but you’ll find this only gives you the original sizes of uploaded images. You still need to scale them down proportionally. To do this, you would open the photo editing software you’re using, give it a square canvas (say, 800 x 800), then place the product image in the middle of the canvas with enough space around it, save the file and only then upload the product image to your media library.
Method 4: Customizing Your Product Image Sizes with Plugins
There are various WordPress plugins available to help you customize and optimize your product image sizes, automating the process and giving you additional benefits.
The best reason to use a plugin would be for displaying custom product images anywhere on your website, whether that’s on your homepage, landing page or other pages. You can find plugins that can help you display products in custom image galleries, sliding banners, and more. There are also plugins that can automatically handle image optimization for you.
Gallery plugins in particular are great because they give you the functionality to display your product images however you want them to (e.g. in a masonry gallery, or with special transition effects).
One such plugin is FooGallery PRO Commerce, an easy-to-use WordPress image gallery plugin with a focus on performance and SEO. It is also responsive, retina-ready, and supports lazy loading. Best of all, while it’s not a WooCommerce plugin, it is engineered to integrate directly with your WooCommerce products’ datasource, letting you create customized, shoppable product galleries that you can put anywhere on your website.
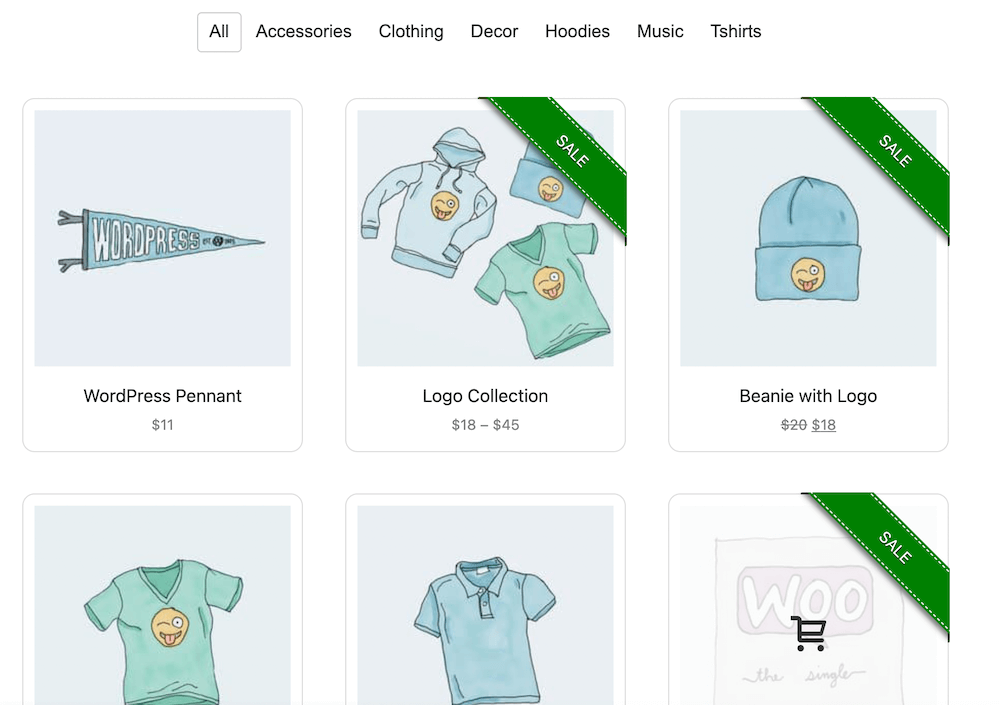
FooGallery PRO Commerce comes with a dedicated product gallery template alongside nine other gallery templates. In the product gallery, you can add as many product images as you want, then apply filtering to make it faster and easier for customers to find the products they’re most interested in.
The Best WordPress Gallery Plugin
FooGallery is an easy-to-use WordPress gallery plugin, with stunning gallery layouts and a focus on speed and SEO.
You can also customize further, by adding CTA buttons and sales ribbons to images, to encourage visitors to shop directly through the product gallery, which integrates seamlessly with WooCommerce. The gallery template also offers support for product variations and there are various other handy eCommerce features built in.
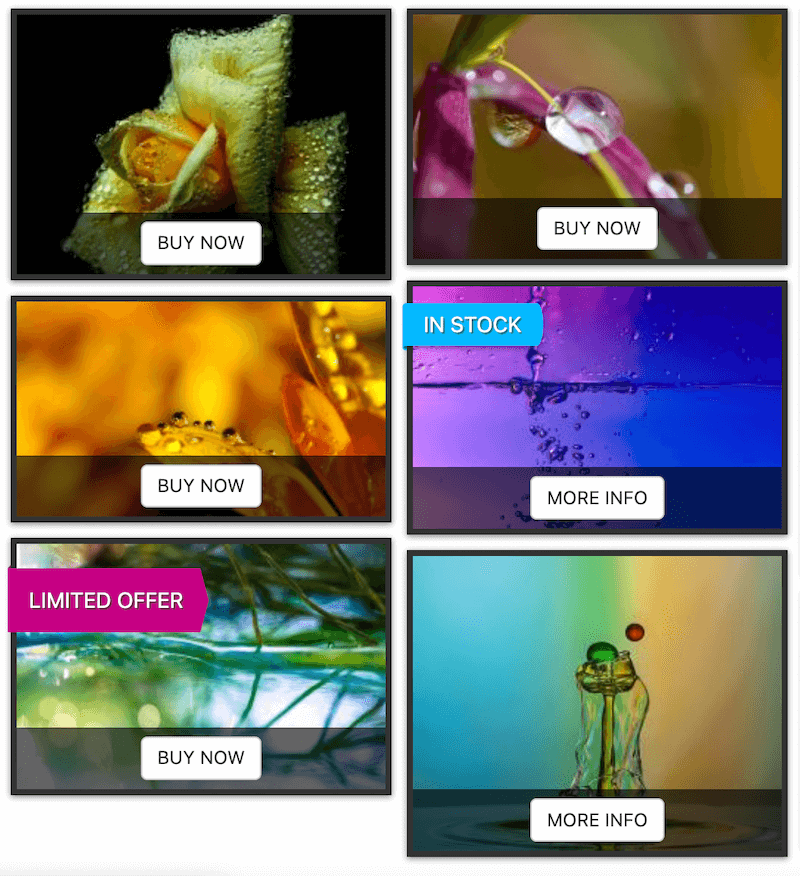
In order for FooGallery PRO to automatically adjust product image sizes for you, here’s all you need to do:
- Create a new gallery and select the product gallery template.
- Set the thumbnail size, which will then be applied to all images within the gallery. If you have multiple galleries on your site, you can dictate different thumbnail sizes for each of them. Obviously, for galleries with lots of images, opt for smaller thumbnails!
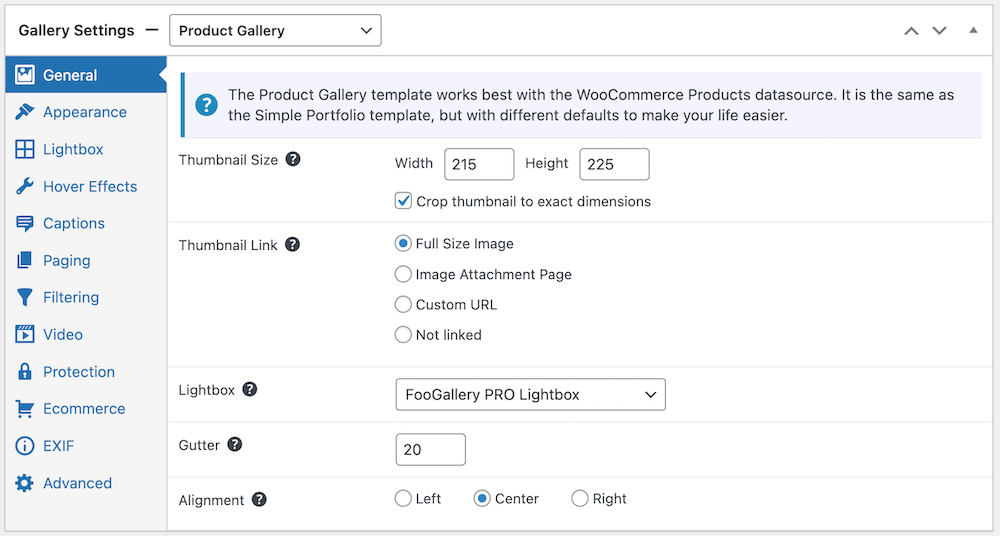
- You can also choose to crop the thumbnail to exact dimensions. Or, with FooGallery PRO Expert, you can use a handy feature called Thumbnail Fill, where images are not cropped to fit your thumbs, and the remaining space is instead filled with a color of your choice. This allows you to display the entire image, while having a uniform thumbnail size.

Other things to note:
- You can set what each thumbnail links to; whether that’s to the full-size product image, an image attachment page, or a custom URL (for example, the URL of a related product). You can also bypass the link entirely.
- You can set images to open in FooGallery’s lightbox when thumbnails are clicked and adjust other image features, such as the gutter or alignment.
Other Ways of Optimizing Product Images
In addition to adjusting image size, there are other things you can do to optimize your product images for better site performance and SEO:
Image Compression
Compressing product images reduces their file size without compromising image quality. There are several image compression tools you can use to optimize your product pics before you upload images to your WordPress/WooCommerce site. For some of them, like TinyImage, there are helpful tutorials. Image compression is a best practice for any online store owner, especially for your large single product images.
Image Format
Choosing the right image format also helps to optimize product images. JPEG is the most used image format for product images, because it retains image quality while keeping file sizes relatively small. PNG is another option, but it tends to have larger file sizes.
Image Naming and Alt Tags
Using descriptive file names and alt tags for your product images improves their SEO and helps search engines understand what your images are about. Use relevant keywords in your image file names and alt tags.
Adjusting Levels
Adjusting levels refers to the process of modifying the brightness, contrast and tonal range of an image, to enhance its overall appearance. The levels adjustment tool can be found in most good photo editing software including Adobe Photoshop, Lightroom and GIMP.
Optimize Your Product Image Sizes with FooGallery PRO Commerce
If image optimization seems like extra work in your busy day, remember why it’s worth it:
- Better website performance
- Improved user experience
- Better SEO rankings
- More conversions (especially if you have WooCommerce-integrated product galleries)
Remember, your WooCommerce theme will have default image sizes that look best, so you’ll want to adhere to those on your WooCommerce pages. However, if you also intend to create custom product galleries elsewhere on your site and want to ensure that the size of the images is optimized, then you really want a plugin that automatically adjusts images for you.
With that functionality as well as responsiveness, lazy loading, image protection and deep WooCommerce integration, FooGallery PRO Commerce is the best plugin for store owners wanting to set up beautiful custom product galleries that work with WooCommerce.
Have a look at the plugin’s gallery demos here (scroll down for PRO Commerce) and get creative – with full confidence that your images are optimally sized! Click here to get FooGallery PRO Commerce.
The Best WordPress Gallery Plugin
FooGallery is an easy-to-use WordPress gallery plugin, with stunning gallery layouts and a focus on speed and SEO.