FooConvert includes an Overlay Popup. For this, you can either use one of the predesigned popup templates, or create your own.
To begin, go to FooConvert in your WordPress dashboard and select Add New Popup. You can then filter the selection to just show Overlay popups.
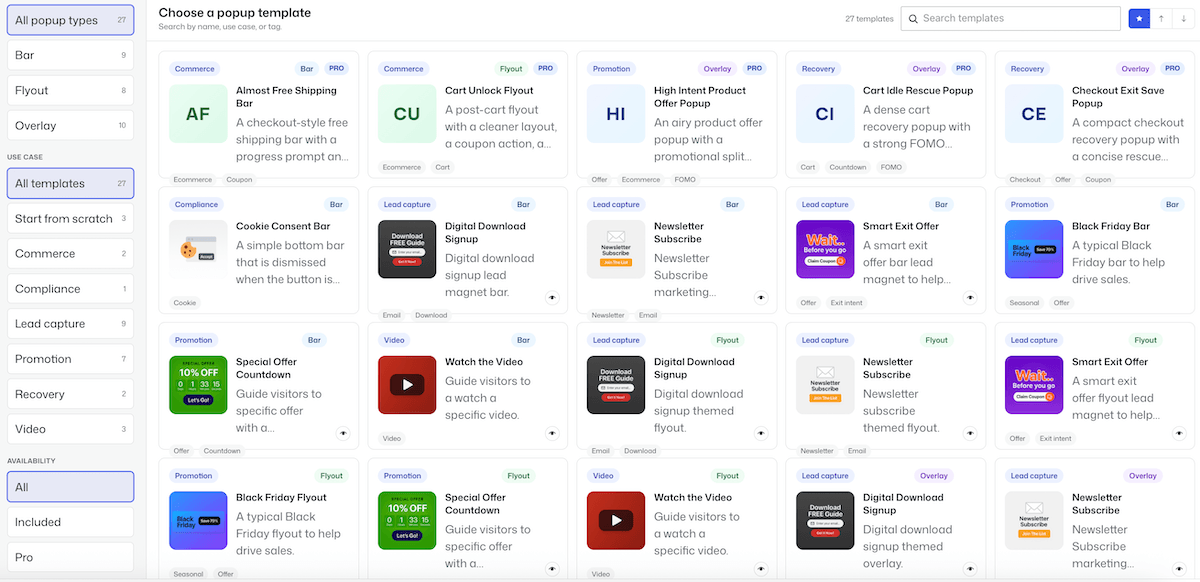
The popup selector will show you any available overlay popups. From here you can choose to use a predesigned template or click on Start from scratch to create a new popup.
Adding a New Popup on FooConvert
Choosing a ready-made template will open this in the editor, where you can make any changes required.
If you opt to create a new popup, the page will open where you can add content to your overlay popup and style it. To add content, click on the ‘+’ icon and select the type of content you wish to use – this could be text, a button, or even a form. You can also change the background color, add a border and change the radius of the corners. Here’s a screenshot of a CTA popup we designed.

The next step is to set up the visibility of your popup. By clicking on Popup on the right of the page, you can select the Display Rules, where you will be able to set where the popup is displayed and who is able to see it. In the block settings, you will also find a number of Trigger options – use these to set when the popup is displayed to users.
Once you have set your rules and triggers, you can publish your popup.