
Invite contributors with a share link or QR code and set up the standalone upload page or your own destination.
User Uploads guides
- Getting started
- Who can upload
- Links, QR codes and upload pages (this guide)
- File limits and optimization
- Fields, labels and appearance
- Moderation and approvals
- Receipts and email notifications
On this page
First enable code or share-link access for a published gallery. Open its Upload Access panel. The link and QR code belong to this gallery; they are not links for managing it in WordPress.
Create a share link and QR code
- Choose Create share link if no link exists, then use Copy link. Keep the complete copied URL, including the part after
#. - Choose Download PNG for an image, Download SVG for a scalable graphic, or Print for the built-in print layout.
- Test the actual exported QR code on a phone before printing invitations or event signage. Share the gallery code separately with your contributors.
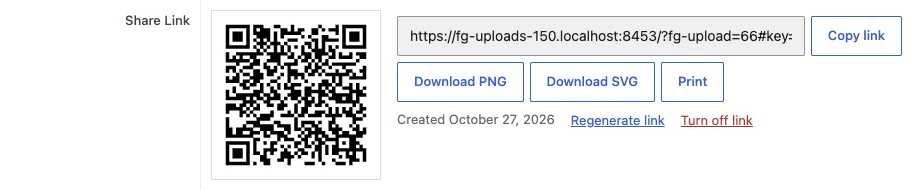
QR codes are generated locally. Scanning the QR opens the same upload destination as the share link. Guests still need the upload code by default.
Choose whether the link skips the code
Leave Skip the Code off when guests should enter a code after opening the link. To let possession of the invitation be enough, enable Let people with the link upload without the code and accept the confirmation.

With Skip the Code enabled, anyone who gets the link or scans its QR can upload. File limits and moderation still apply. Replace or disable the link if it reaches people you did not intend to invite.
Use the standalone upload page
Keep Link Opens set to Standalone upload page (recommended). It supplies a page for this gallery without a separate theme page. Set a Featured image on the gallery to add a cover, and use Show Gallery to display its approved photos below the upload box.
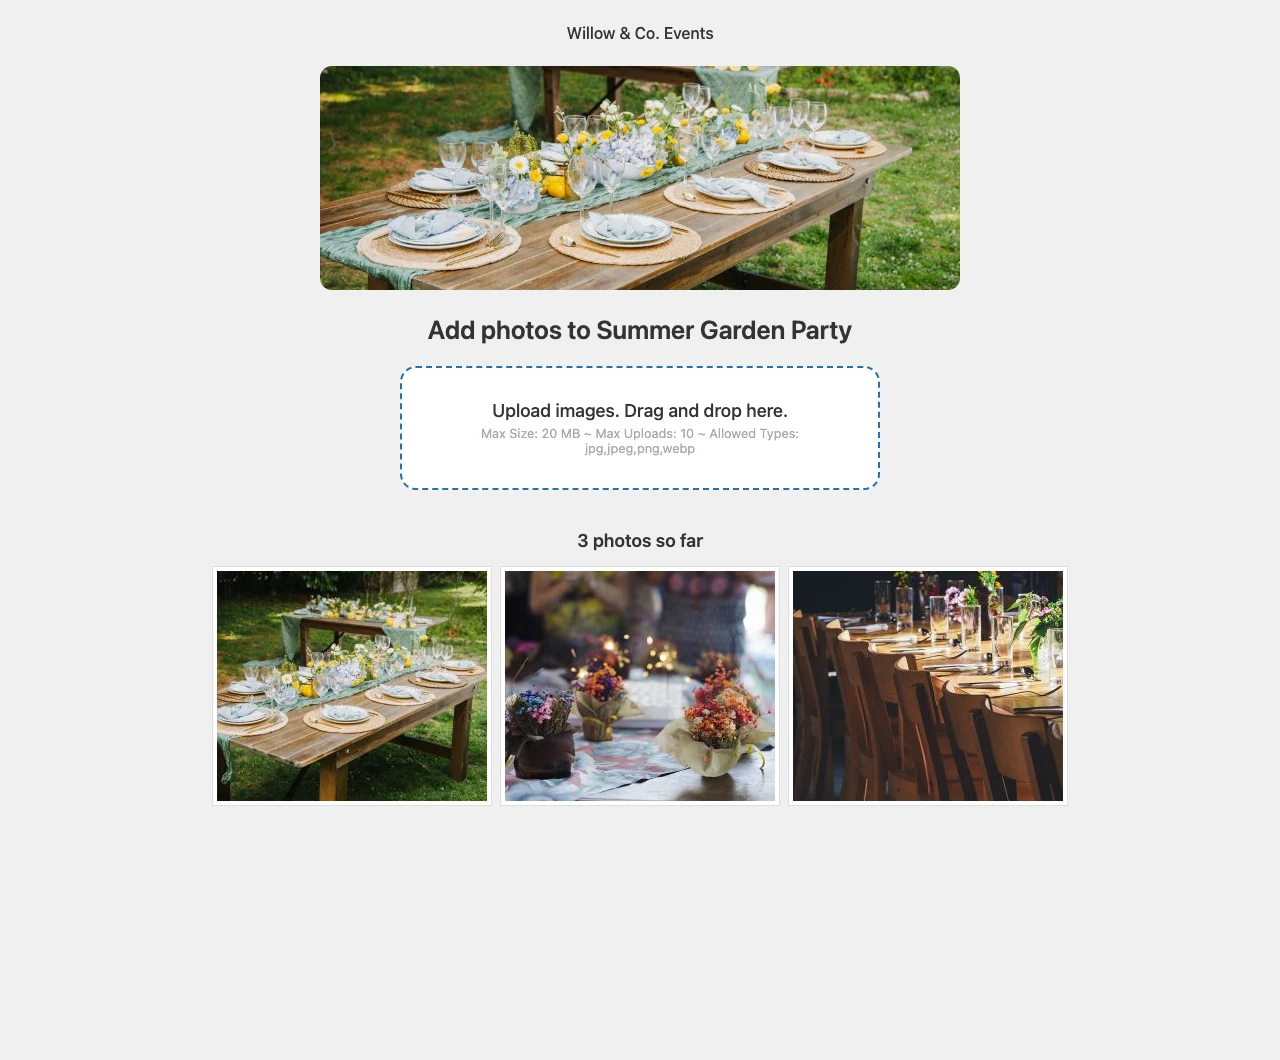
Turn off Show Gallery for an upload-only layout. This setting changes what this page shows; it does not make gallery photos private elsewhere. Check the same share link on a phone, including code entry, file selection and required fields.
Send guests to your own page
- Publish a page or post containing this gallery with Show After Gallery enabled, or place
[foogallery_upload id="123"]in a Shortcode block. Use your gallery ID. - Save the destination and select it under Link Opens. The destination must be published, have no WordPress password, and contain the correct upload form.
- Test the full share link again. If a saved custom destination stops being eligible, the plugin falls back to its standalone upload page.
Before sharing invitations
- Test in a private browser window so an existing unlocked session does not hide the code requirement.
- Check the default code requirement or your deliberate Skip the Code choice.
- Check mobile layout, allowed file types and the expected moderation confirmation.
- After regenerating a link, replace old invitations and print fresh QR codes. See access management for session effects.
Related: Getting started and all guides · Try the upload demos.


