Many online businesses will be familiar with this common problem – critical CTAs and announcements not being visible enough on your website, and getting missed as a result! This inevitably results in fewer conversions and a loss in traffic, revenue, or opportunities for building leads.
However, there are practical solutions to this problem in WordPress, such as using a customizable sticky footer or bottom bar to drive conversions. This ensures that your CTA remains visible while the user is scrolling, but without disrupting the browsing experience.
In this tutorial, we’ll show you how to install a sticky footer plugin and customize your announcements and CTAs for your site. Best of all, you will see how this can work with any WordPress theme and can be set up in just 10 minutes.
Create a Reliable Sticky Footer That Works Every Time
There can be a number of challenges in implementing an effective sticky footer. These could include cross-theme compatibility, mobile responsiveness, or overlapping of the sticky footer with page or post content. Not addressing these can lead to frustration for users and poor user experience.
There are three ways to implement a sticky footer, which are:
- Theme customization with custom CSS: This gives you a lot of scope with how the bar is customized, but unless you’re familiar with coding, it is inadvisable to use this method.
- In-built sticky footer options in WordPress page builders: if you’re looking for a simple bar, this could be a viable option, but it is unlikely to include advanced settings and customizations.
- A dedicated bottom bar solution: this will give you the most flexibility, along with ease of use, making this the preferred option.
There are a few key requirements for a sticky footer or bottom bar, which are important factors to consider when placing one on your site. These include consistent positioning across all pages, proper spacing from your main content, a mobile-friendly display, and fast loading times. The best way to achieve this with minimal chance of errors (or things breaking on your site) is to use a dedicated sticky footer plugin solution.
“When implementing a sticky footer or bottom bar, there are several non-negotiable requirements: consistent positioning across pages, proper content spacing, mobile responsiveness, and optimal performance. Rather than building from scratch, using a dedicated sticky footer plugin significantly reduces the risk of layout issues and cross-browser compatibility problems.”
Steve Usher, FooPlugins’ Developer.
Introducing FooConvert’s Bottom Bar Solution
FooConvert is a plugin designed to skyrocket conversion across your WordPress or WooCommerce site, and it includes a bottom bar widget to help you achieve this. The plugin is a functional and easy-to-install solution for creating striking sticky footers within minutes … keep scrolling to see one in action!
With FooConvert, it is simple and quick to install a predesigned (but customizable) bottom bar widget on your website. This can be used for CTAs, for example, to grow your email list, or to direct users to product pages or special offers. Once you’ve selected your template, you can also customize it to align with your brand (we discuss how to do this in more detail below).
The bottom bar can also be trigger-activated to appear when it will have the most impact. This will depend on the purpose of the bar, but you can set it to display on page load, when the user scrolls to a specific portion of the page, or when the user is about to leave (exit-intent). The display rules further allow you to target specific audiences, as you can set on which pages the bar is shown, and the users who can see it.

This is by far the easiest solution to setting up a sticky footer bar, but still gives you a range of options in terms of design and display settings, as you’ll discover below.
How to Install a Sticky Footer (in 3-Steps)
In this section, we’ll walk through creating a sticky footer using FooConvert’s bottom bar widget. The process is straightforward and focuses on getting your sticky footer live quickly, while still ensuring it looks professional and converts visitors.
1. Building Your First Sticky Footer
The first step is to download and install FooConvert from the WordPress plugin repository. Then navigate to FooConvert in the WordPress admin dashboard and select ‘Bars’. The Bars page will open where you can select a premade demo bar to edit, or choose to add new.

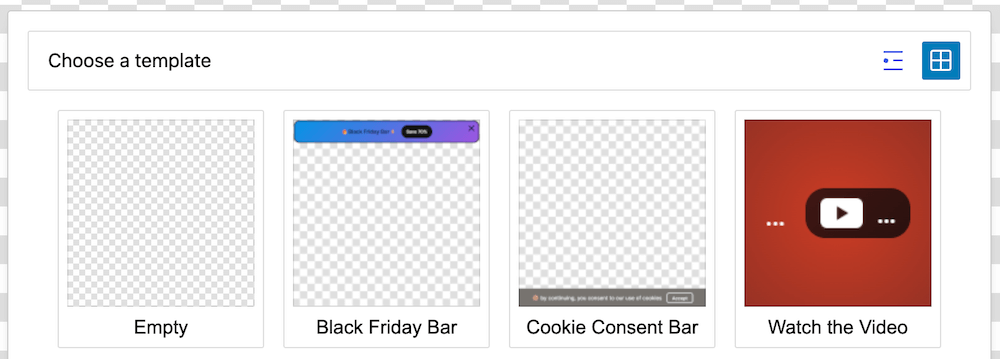
If you choose to add a new bar, a new page will open where you can choose the template you’d like to start with to create your sticky footer (or you can choose to design a bar from scratch).
Add your CTA And button text. You can also add or customize the background, borders, margins, and so on. Choose your desired display rules – you can create a sitewide sticky footer or select to display it on a specific page, such as in the ‘Bar’ section of the right-hand pull-out menu.
Save your new sticky footer! Note that once your display rules have been set, it will display on the front end as soon as you publish it; however, in some instances, you may need to add an anchor element to a page or post.
2. Customizing Your Footer for Maximum Impact
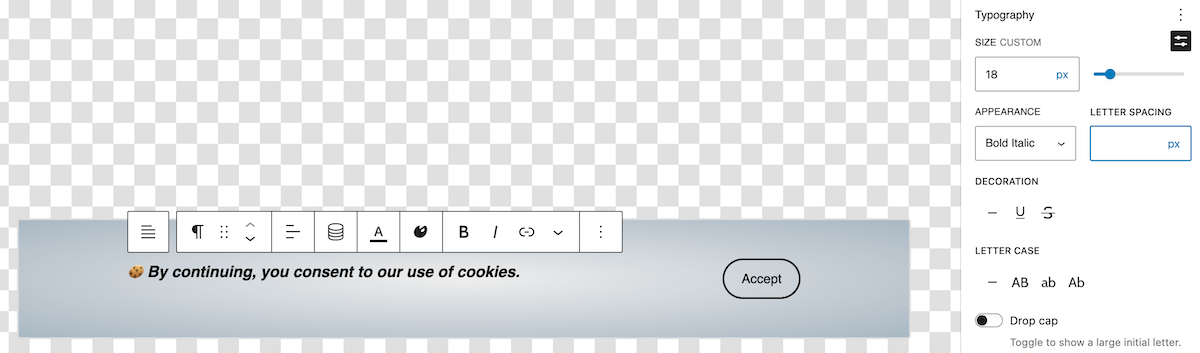
While there are pre-designed sticky footer templates available in FooConvert, all of them can be customized to match the branding of your site. In fact, each element of your sticky footer can be customized in the ‘Block’ section of the bar design page.
Here are some of the ways you can customize a basic bar:
- Add a background color or gradient. FooConvert includes a custom color picker for solid or gradient backgrounds.
- Add a border; you can select the border size and color.
- Add rounded edges to your bar by adjusting the radius.
- Edit the typography – you’ll have access to the basic typography settings available in WordPress when editing the bar.
The ‘Bar’ settings also allow you to set up triggers to only display your sticky footer to users when certain conditions are met, such as page scroll or exit intent. You can also use the display rules to determine where, and to whom, your bar is shown.
3. Ensuring Perfect Display on All Devices
FooConvert is fully mobile-responsive and works across all devices, so there’s no need to set up different sticky footers for different devices. However, it is always good practice to save your bar and test it on different devices or screen sizes to ensure it is displaying correctly.
In this sense, FooConvert is a ‘set it and forget it’ solution. It may take you a few minutes to set up or customize your bar, but once this is done, you’ll have a permanently optimized footer that works consistently across all devices, requiring minimal maintenance while maximizing conversions. Once a campaign is finished, you can even repurpose your bar for different CTA or lead-generation opportunities.
Conversely, other sticky bar solutions such as custom-coded footers or bottom bars from page builders could create issues with responsiveness on your site. Using a straightforward, optimized plugin like FooConvert, can save you both time and trouble.
Launch Your Sticky Footer in the Next 10 Minutes
Today, we’ve looked at how a sticky footer element can be a great addition to your WordPress website, providing you with an effective way to display CTA’s and announcements. However, there are some potential challenges to implementing this well.
Using a plugin like FooConvert can help eliminate these challenges while providing you with an easy way to set up a sticky footer in WordPress. Plus, no coding knowledge is required!
To save even more time, you can start with a premade template and tailor it with a few quick customizations. You can then test the bottom bar on a few key pages first before deploying it sitewide.
If you’re looking for a simple solution for creating effective sticky footers, download FooConvert today.