If you search Google for “how to create a video course with WordPress” you’ll get a nice list of plugins designed for that very purpose. Most of them come packed with features specific to course management and running membership-type sites.
But what if you don’t need all those features? What if you just want to display your course videos one after the other with easy navigation, all on the same page?
In this tutorial, we’ll show you how to use our free FooGallery plugin, along with the premium FooVideo extension to easily create and display your course videos. We’ll be importing an entire YouTube playlist of the Astronomy course available on the CrashCourse YouTube channel.
Step 1 – Install and Activate FooGallery
Install FooGallery if you haven’t already. It’s free. You can search for FooGallery from within your WordPress Dashboard -> Plugins -> Add New -> Search
Step 2 – Get the FooVideo extension for FooGallery
Video is a premium extension for FooGallery PRO Expert and you can get it here.
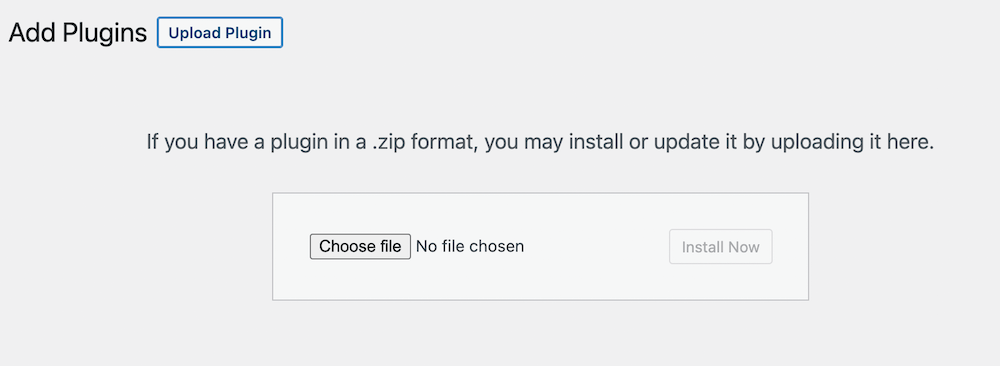
Once purchased, download the plugin .zip file and install it by visiting Plugins -> Add New -> Upload.
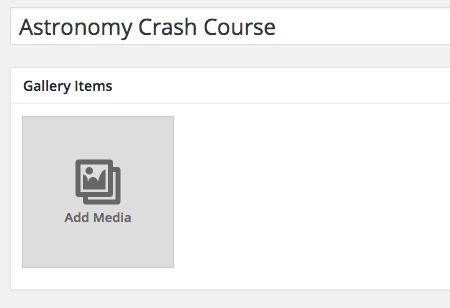
Click Activate and then visit FooGallery -> Add Gallery just like you were going to create an image gallery.
Click the Add Media button and you’ll see the familiar WordPress Media Library screen with the addition of a new Video tab.
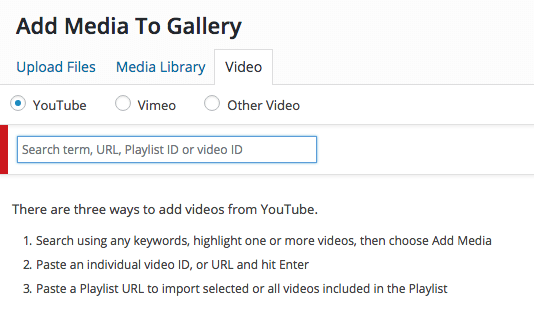
Click the Video tab and you’ll see three choices – YouTube, Vimeo and Other Video.
Step 3 – Use the YouTube search field to import the entire playlist to your gallery
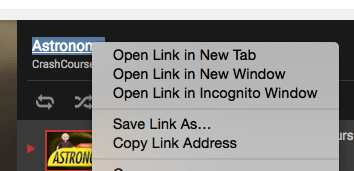
Find the YouTube playlist url.
Right-click that link and choose “Copy Link Address”.
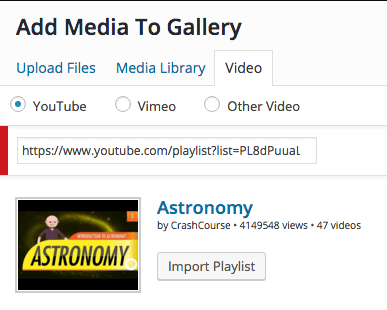
Enter that playlist url into the YouTube search field.
You’ll then be presented with a complete list of all 47 videos in that playlist, but more importantly, an option on top to “Import Playlist”.
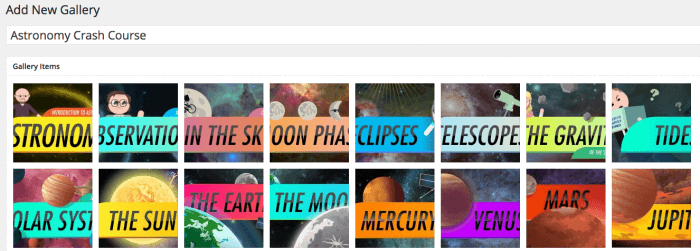
After the import is done, you’ll see all the video thumbnails in your FooGallery.
To further enhance the quality and appeal of your online video course, consider adding background music to your videos. You can explore a vast selection of free music from high-quality royalty-free music libraries, which can greatly improve the overall learning experience for your audience.
Step 4 – Choose your gallery display template and define the settings as you like.
Here’s a screenshot of what this looks like with the default Responsive Image Gallery template applied using Captions on hover.
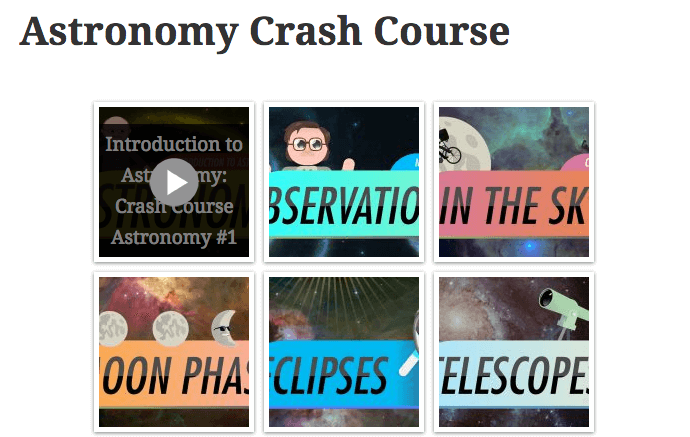
As you can see, it’s not an ideal display yet because I’ve used the default thumbnail size of 150px by 150px and the title images are cropped.
Let’s see what it looks like when I change the thumbnail sizes to 300px by 250px.
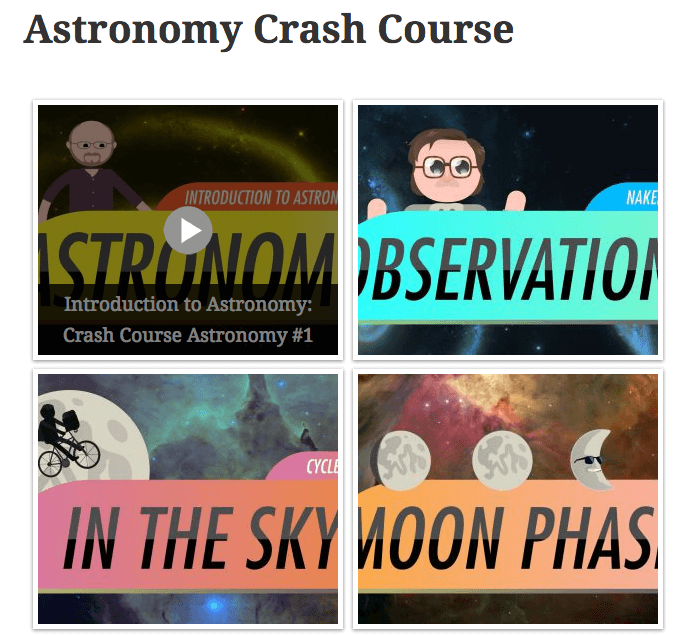
That’s a little better, but it’s still not the display I want.
I could bump up the thumbnail width even further, and this would be fine on a full width page. However, when I do that in the available content width I have in this theme, I’ll end up with 47 videos all in one long column.
Using the Image Viewer template
To solve this, I’m simply going to switch my gallery template to Image Viewer. This will make each video available on it’s own with a nice counter and navigation arrows.
The display options are almost limitless. Change the template, the thumbnail size, the hover effects and more to tweak your online video course to match your theme layout.
You can get FooGallery here.
To see even more examples of our gallery templates, check out the demos here.