Managing a WooCommerce store can be complicated when you have hundreds or even thousands of products. Imagine that you need to make changes to 300 products in your store. Unfortunately, WooCommerce lacks the necessary tools to bulk edit data in simple steps. Out of the box, it forces you to manually change one product at a time.
This article presents you with an alternative that makes this process quick and straightforward. Enter WP All Export and WP All Import.
WP All Export allows you to export your WooCommerce product data easily, even if some of the data is added by a third-party plugin. You can then modify this data using your favorite spreadsheet, where functions like search-and-replace and copy-and-paste are quick and intuitive.
WP All Import lets you import the changed data back into WooCommerce. Because WP All Export and WP All Import are fully integrated, you can perform this update with minimal effort.
How to Bulk Edit WooCommerce Products Easily
Let’s say that you have a WooCommerce product gallery with around 3,000+ products. Previously, to support a sale, you manually added an “ON SALE – ” prefix to the title of 300 of these products. You also entered a new sale price.
These edits took around 20 seconds per product or nearly 2 hours of manual data entry.
Now the sale has finished and you need to modify the product data again. You didn’t add an end date to the sale price, so you need to remove that price and leave only the regular price. You also need to edit the 300 products to remove the “ON SALE -” prefix from the product titles.
This time, you plan to work smart instead of hard!
Make sure to install WP All Export and WP All Import on your site if you haven’t already done so. Then follow the steps below to bulk edit WooCommerce product data.
Step 1: Export WooCommerce Products and Apply Filters
Go to All Export › New Export and choose to export WooCommerce Products from the dropdown list.
WP All Export will display the number of products that will be exported:
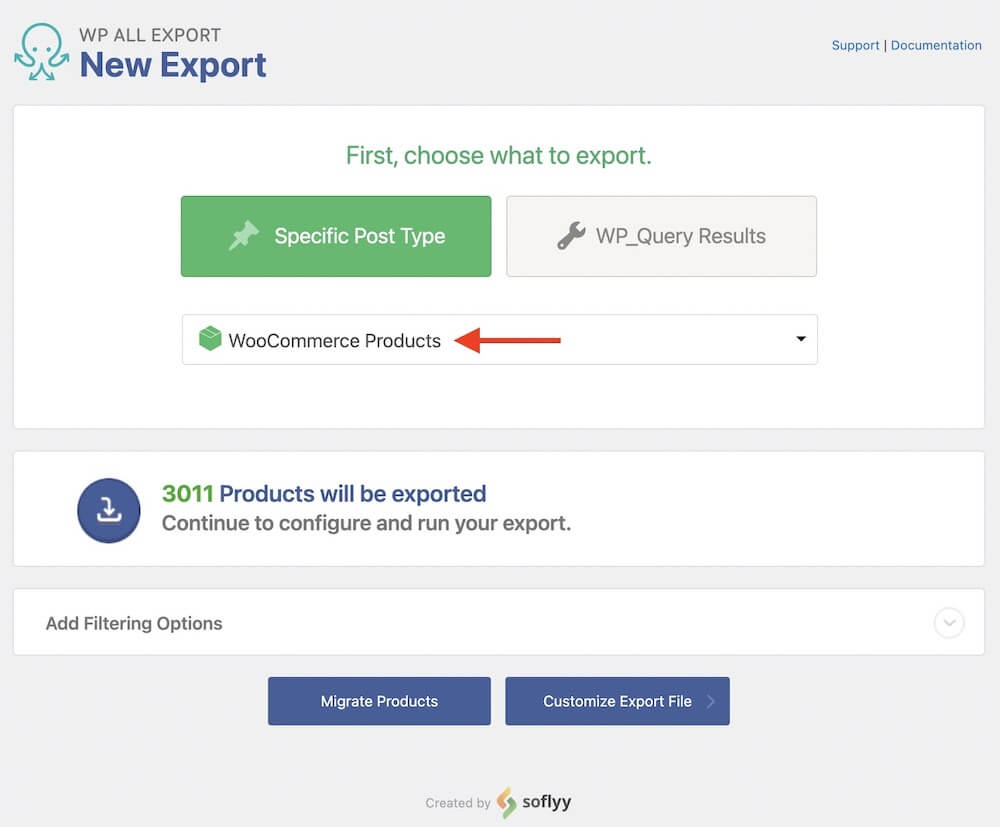
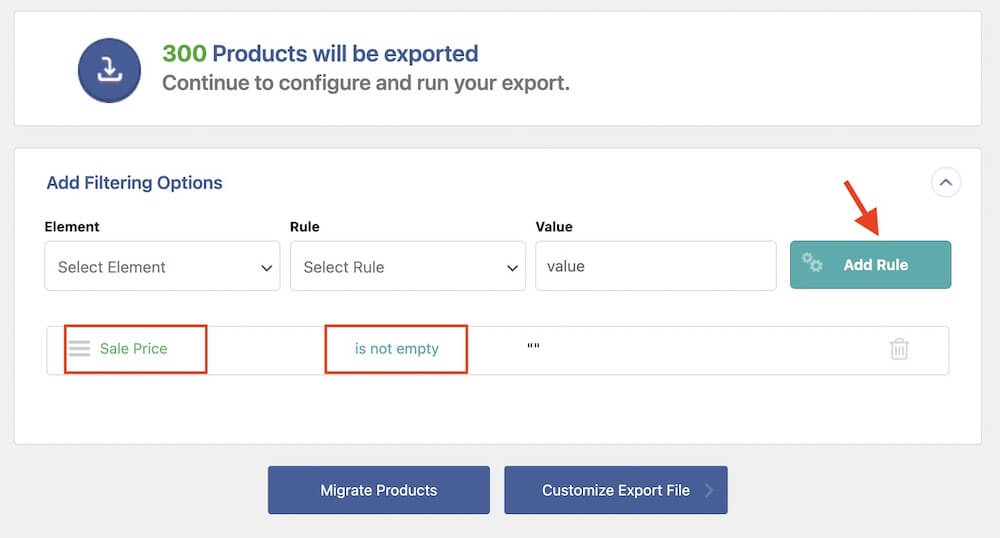
As you can see, all 3,011 products will be exported by default. However, we only need to export the 300 products that were on sale, so expand the Add Filtering Options section.
Under Element, select Sale Price. For Rule, choose is not empty, then click the Add Rule button.
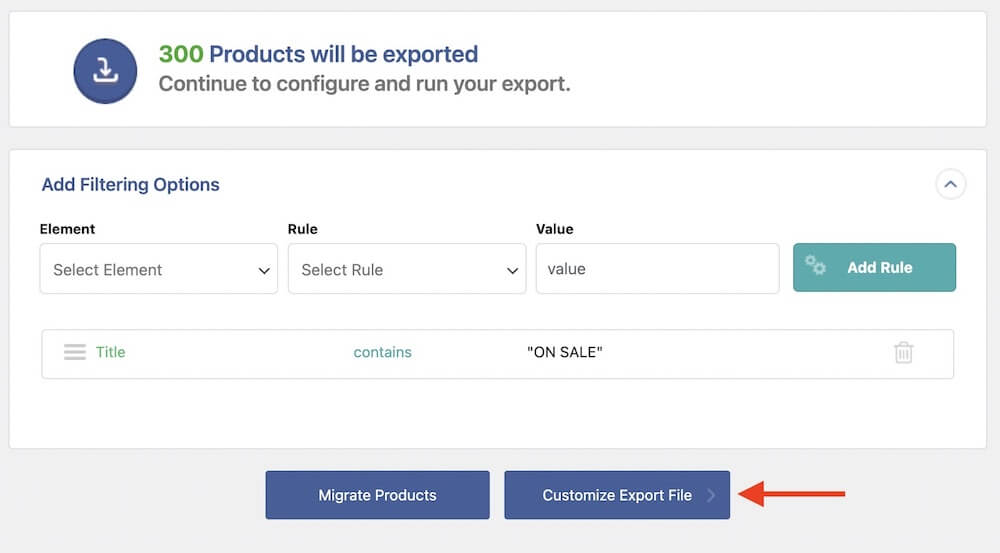
We can use different logic to filter the products that were on sale and still get the same results. For example, we can filter by Title as the element, choose contains as the rule, and input “ON SALE” as the value.
Either filter will work. In fact, using AND/OR conditions and nested filters (not shown), you can always export exactly the data you want.
Once you’ve input your desired filter rules, click on the blue Customize Export File button to proceed.
Step 2: Select the Desired Export Columns
Now you’ll see the Drag & Drop screen. Here, you can choose the fields that you want to export. The Title field is already selected by default, but since we want to bulk edit pricing information, we also need to expand the Available Data › Product Data section and drag the Regular Price and Sale Price fields into our column selection area, too.
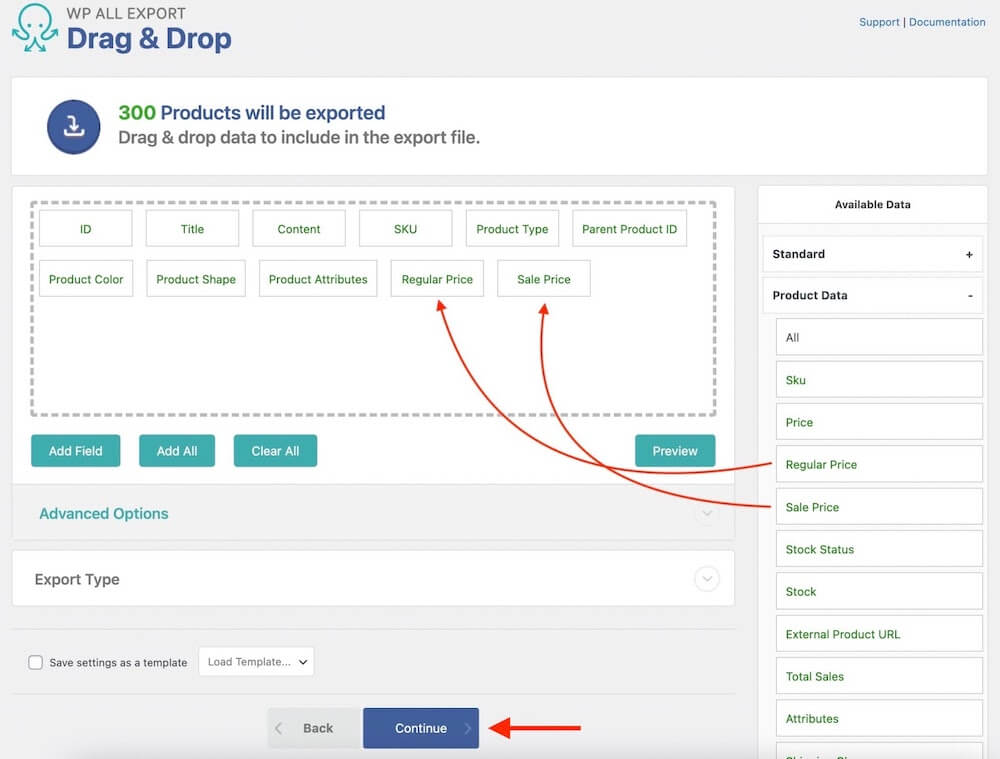
To review your export data, click the green Preview button.
Click Continue to move to the next step.
Step 3: Complete the Export
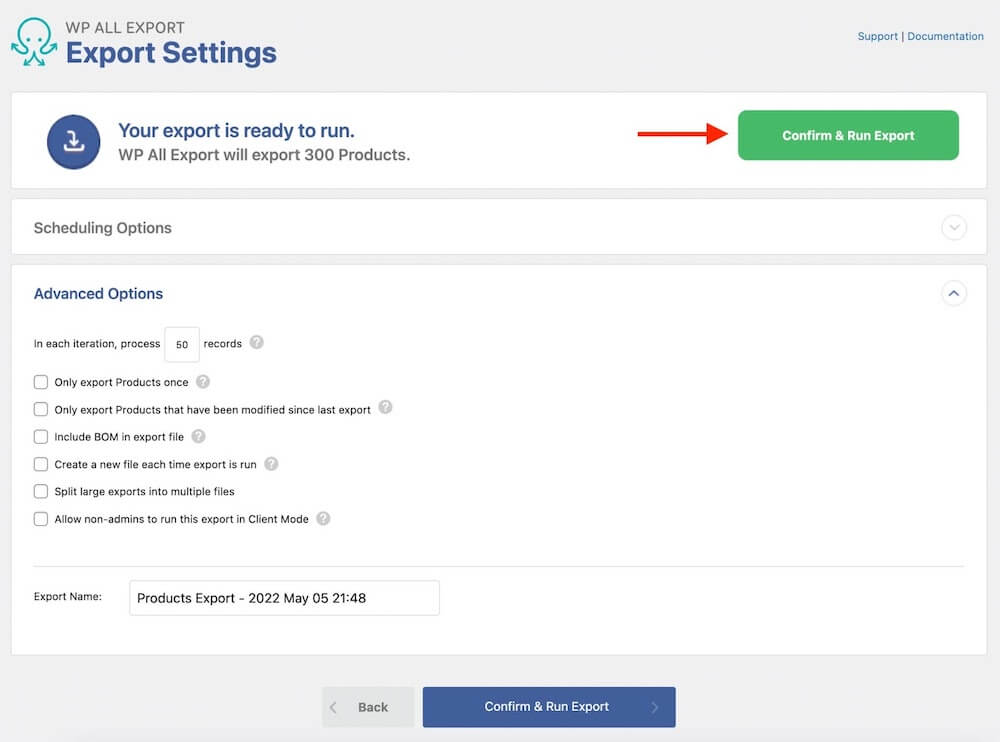
In the Export Settings screen, you can define Scheduling Options and modify other Advanced Options. You can also assign a different Export Name.
In this case, you won’t need to change these settings, so click Confirm & Run Export to proceed.
Once the export completes, download the exported CSV file and open it in your favorite spreadsheet software.
Step 4: Modify the Exported WooCommerce Products
To bulk edit WooCommerce products, we’ll be doing some fairly simple modifications. We use LibreOffice in this example guide.
To remove the “ON SALE – “ tag from the title, we create a new column and apply the following formula to its first data row:
SUBSTITUTE(B2, “ON SALE – “, “”)
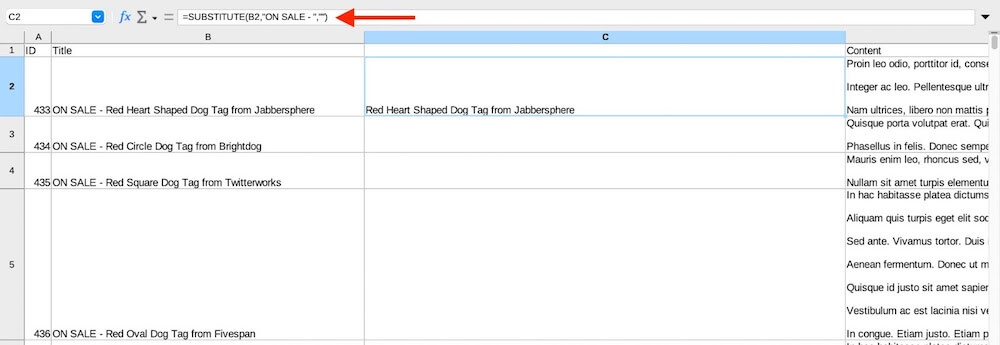
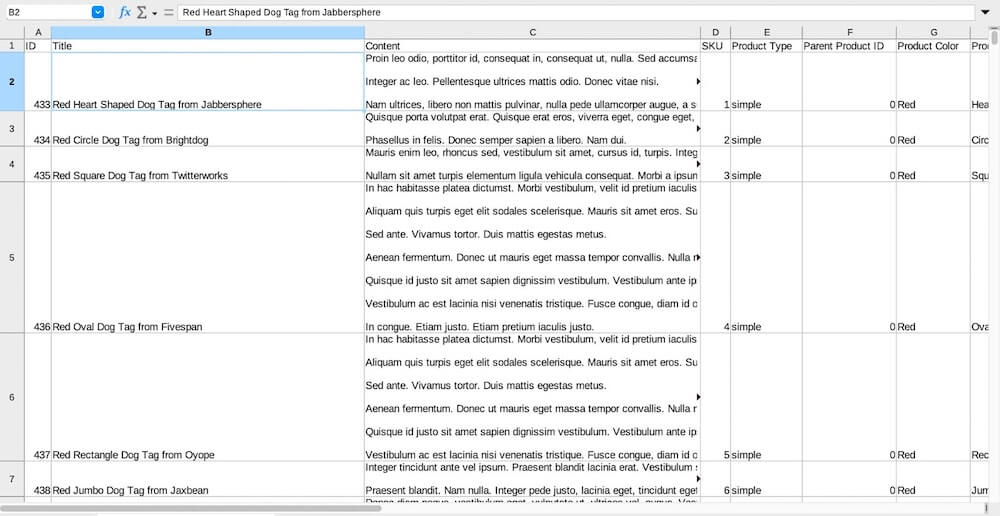
We then paste this formula into all remaining data rows for this new column. Finally, we copy and paste the values from the formula results into the Title column, then remove the extra column:
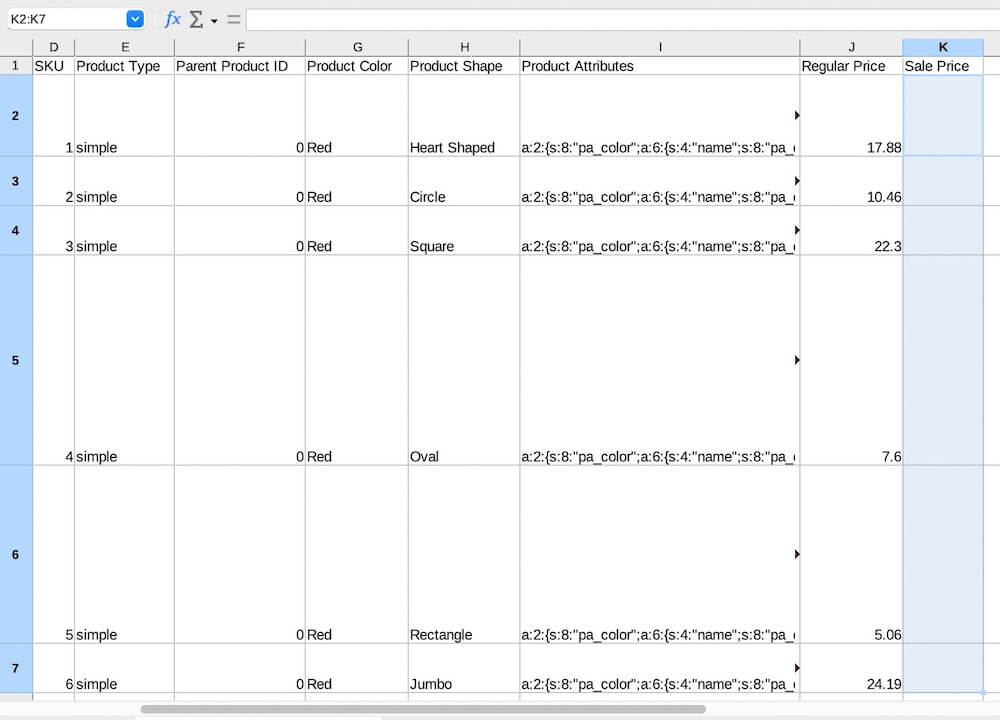
To remove the sale pricing, we simply erase all prices from the Sale Price column.
We need to keep the file’s column structure exactly the same as it was created by the export plugin. This ensures that there are no issues when re-importing the data.
Step 5: Import the Modified Spreadsheet with the Bulk Edit Changes
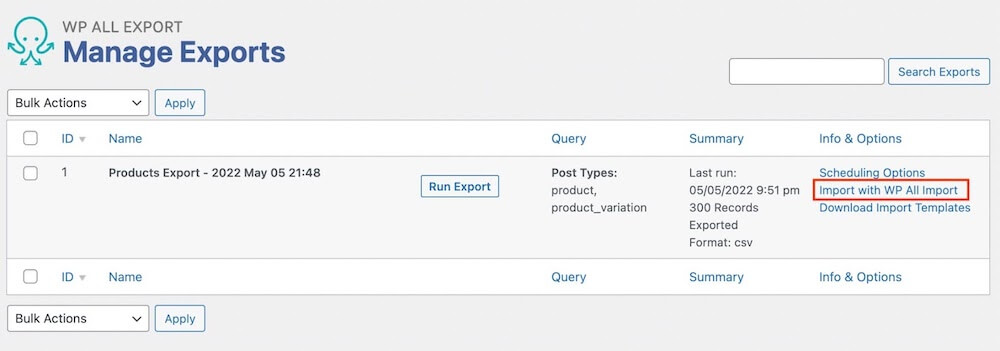
Go to All Export › Manage Exports and select the Import with WP All Import option.
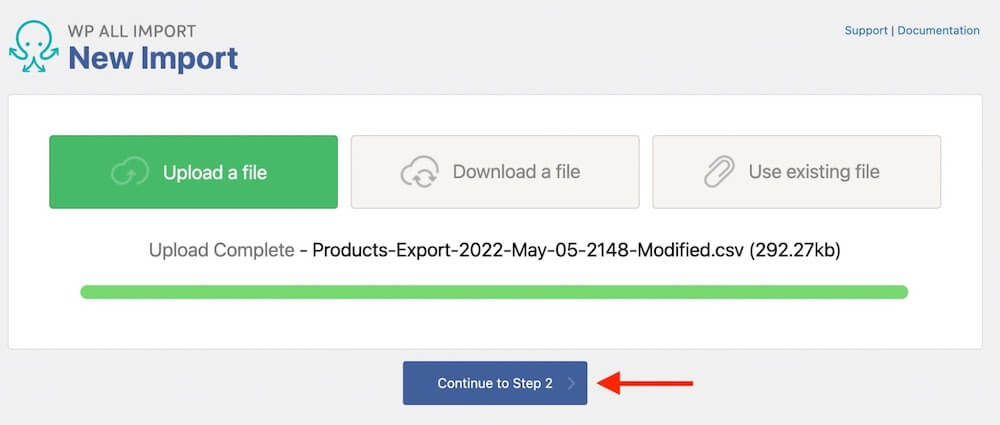
The New Import screen will appear, which allows you to upload a file. Choose your modified export file, then click on Continue to Step 2.
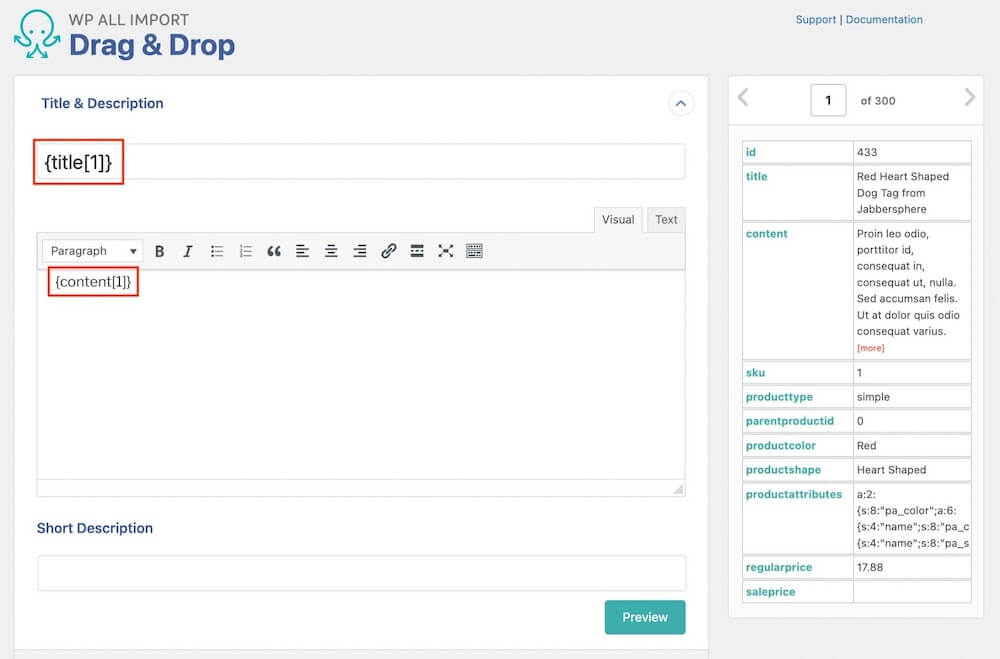
Because you selected the Import with WP All Import option associated with your previous export, WP All Import already understands the structure of your import file. As a result, it will automatically set the correct mappings in the Drag & Drop screen:
Scroll down and click Continue to Step 4 (not shown).
Next up is the Import Settings screen (again, not shown). Everything is already mapped, so click Continue.
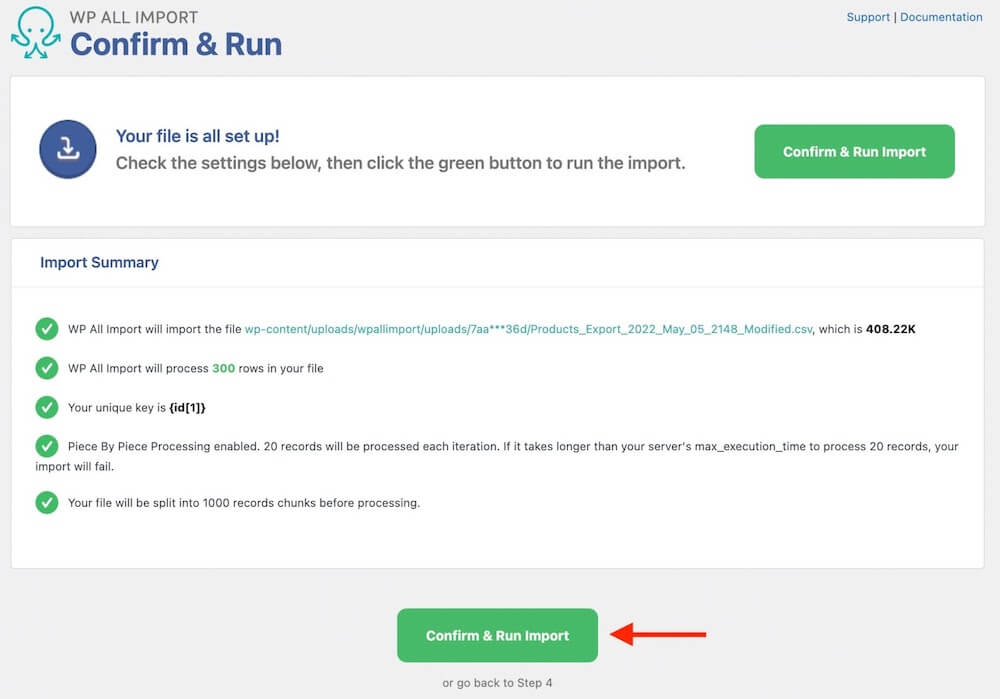
This will bring you to the Confirm & Run screen. To update the target products, click on Confirm & Run Import.
Finally, you will see the Import Complete screen.
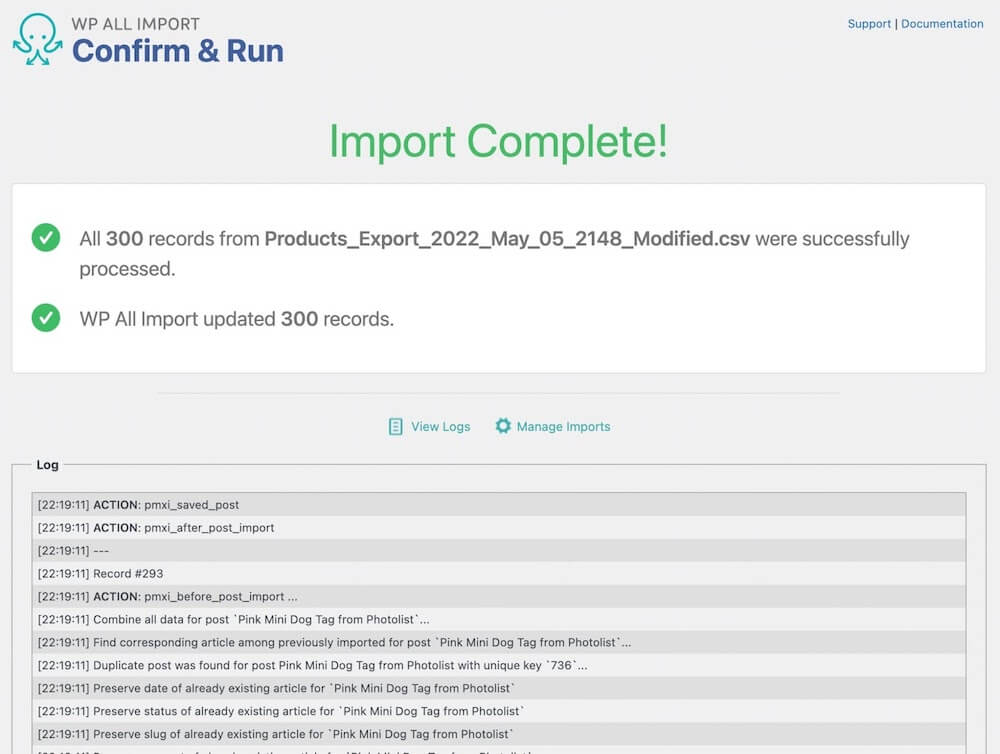
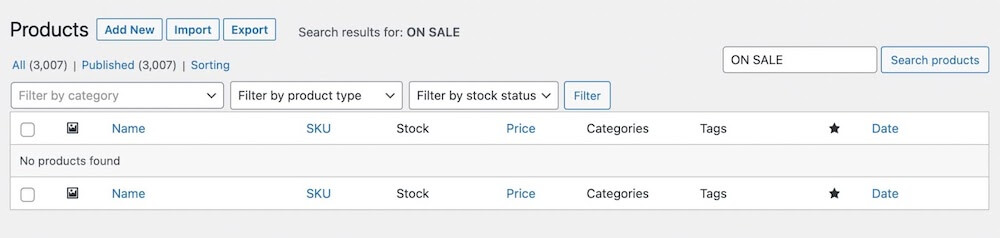
That’s it! If you go to Products › All Products, you will see that the “ON SALE -” prefix and the sale price have both been removed from the 300 target products.
Wrapping Up
The process to bulk edit WooCommerce Products using this export/import plugin is fairly simple and quick!
Remember that it took around 2 hours to make these changes manually? Using the method described above, you can reduce that time to less than 10 minutes!
To learn more about these processes, see Export WooCommerce Products and Import WooCommerce Products.