User Uploads is a FooGallery add-on that can be used with FooGallery Free or PRO, to enable users on your site to upload images to a gallery. To enable uploading to galleries, you will need FooGallery free or one of the premium plans, along with the User Uploads add-on.
Enabling User Uploads
User Uploads is a separate add-on, that can be used with FooGallery to allow for frontend uploading of images. To enable this, you will first need to have FooGallery installed and activated on your site. You can use the add-on with any of the FooGallery plans, from Free to PRO Commerce.
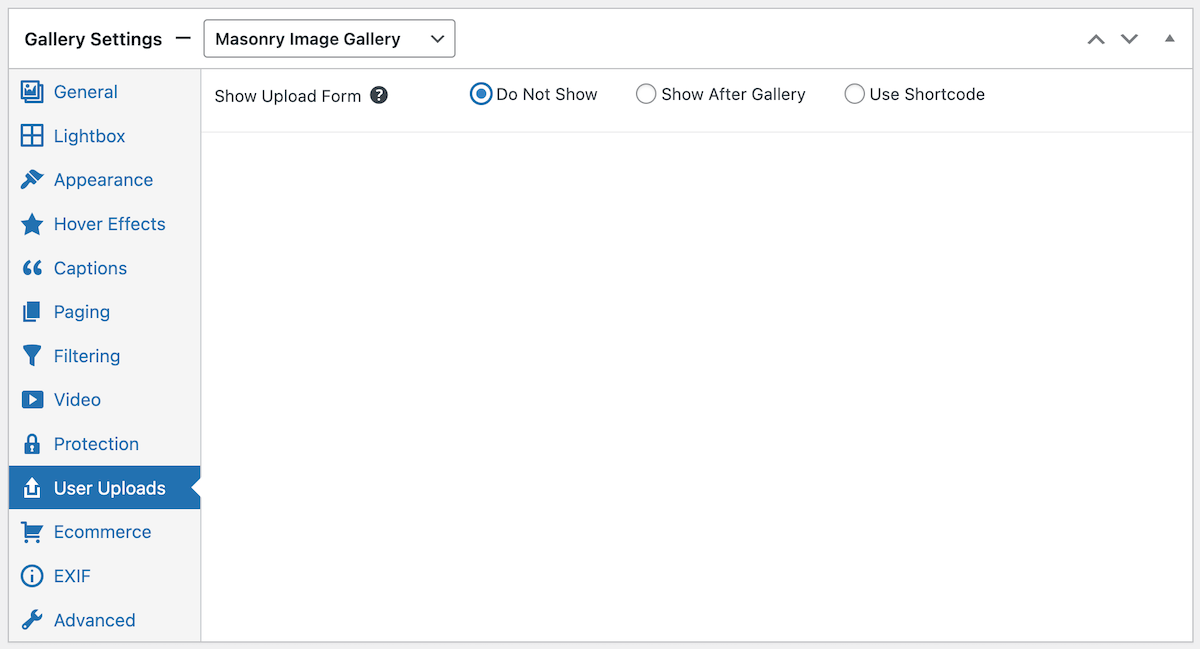
Once you have installed the User Uploads Add-on, you will see an additional tab in your Edit Gallery page called User Uploads. From here, you can enable the uploads by selecting either Show After Gallery or Use Shortcode.
User Uploads Settings
Once User Uploads has been enabled, you can determine the ‘rules’ for uploading images.
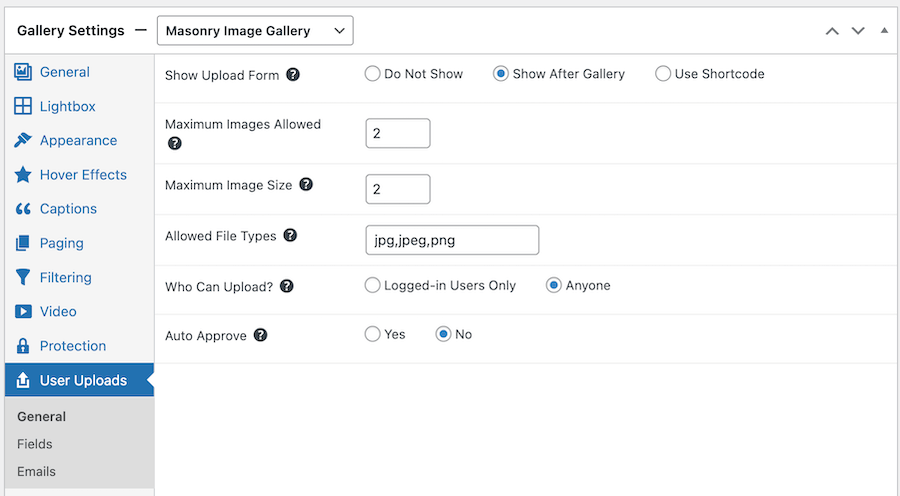
First, you can select to show the upload form after the gallery, or by using the shortcode. Selecting the latter option will open a new field with the shortcode for the form. You can then paste this onto your gallery page (or any other page) to display the form, allowing users to upload their own images.
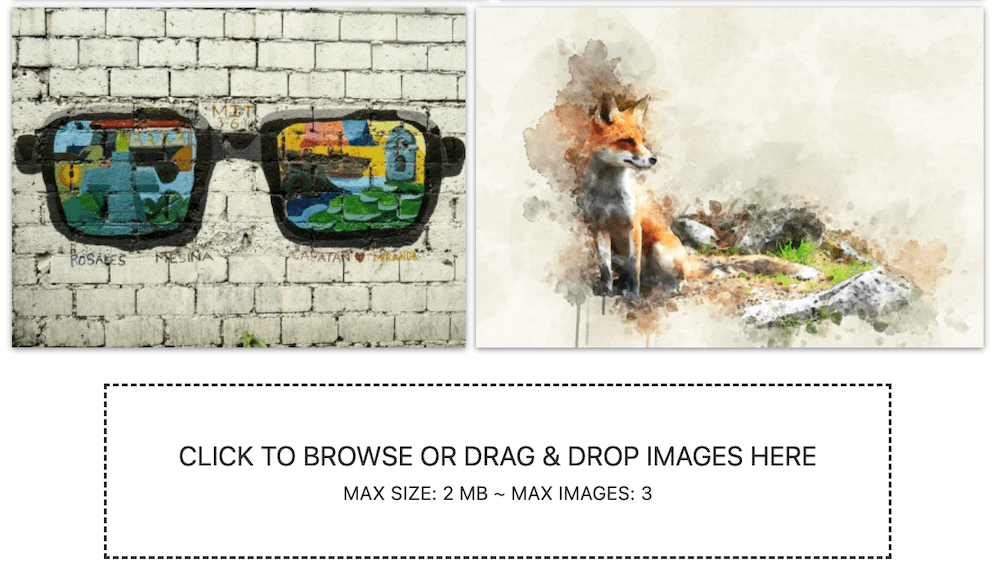
Following this, you can set the maximum number of images that someone can upload, along with the maximum image file size. This can’t exceed 5mb, as this is the limit set by WordPress, but we would recommend keeping this as low as possible to prevent potential problems with site speed. Below is an example of how the form will appear – you will see that it specifies the max size and number of images that you have set.
You can now set who has permission to upload images; this can be set to logged-in Users Only, or Anyone. Finally, you can enable Auto Approval of images, which we discuss more below.
In the next tab down, you can select the fields you want to show in the form for image submissions. For example, you can ask users to fill out the description, caption, tags or custom URL. You are also able to request a name and email address from the user. This can help you contact users, should you need to do so, but also offers a useful way to generate leads.
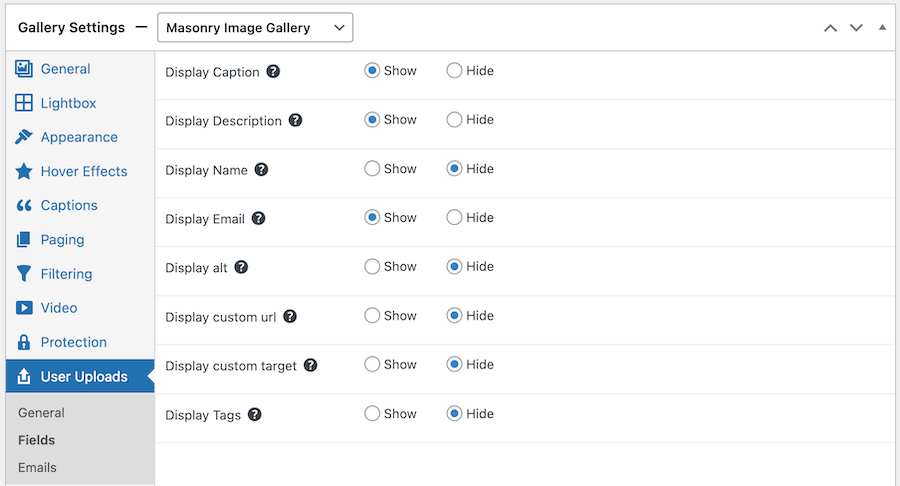
For each of the items select Show or Hide, depending on your preferences. When users upload their images they will be able to add information to each of the fields selected.
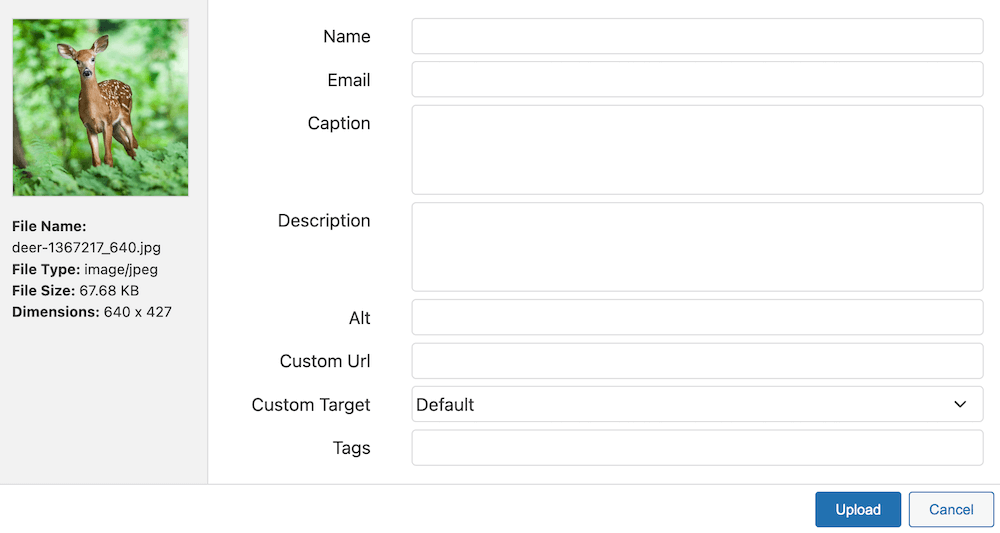
Image Moderation
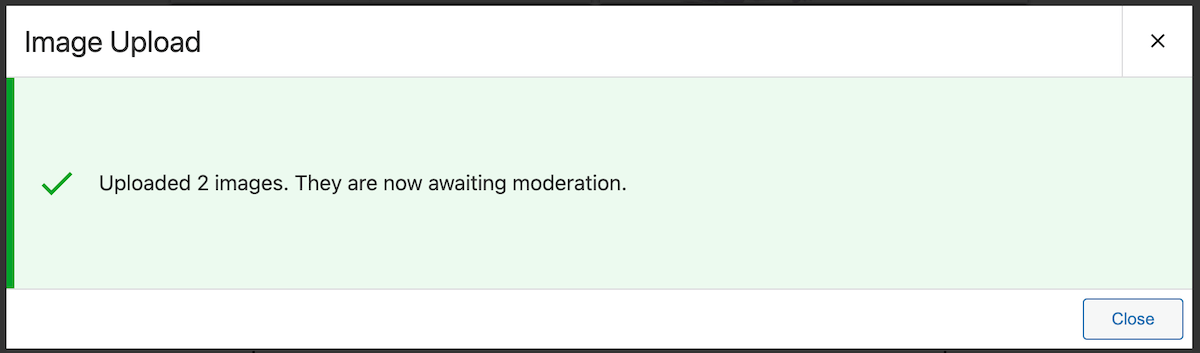
Once images have been uploaded, users will see a notification informing them that the images are now in moderation.
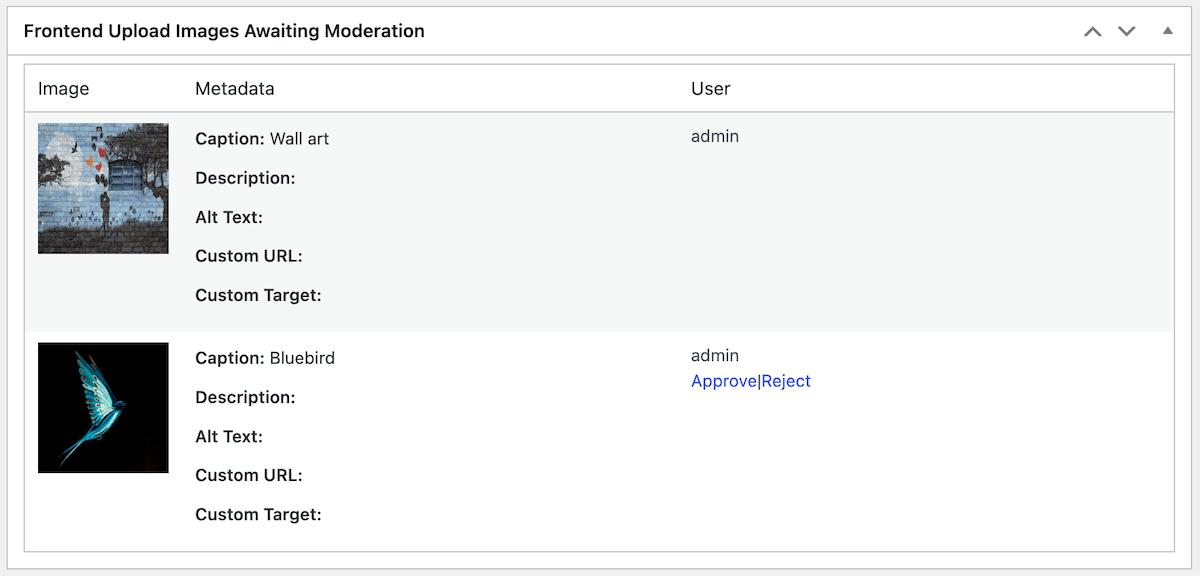
Website administrators can open the moderation form on the backend, to see any images that have been uploaded. Here you will be able to see the information that has been added and the images uploaded. You can then Approve or Reject each image – approved images will be added to both the media library and the gallery in question. Images that have been rejected will not be added to either.
Once images have been added you can update the gallery to show the new images.
Bulk Moderation
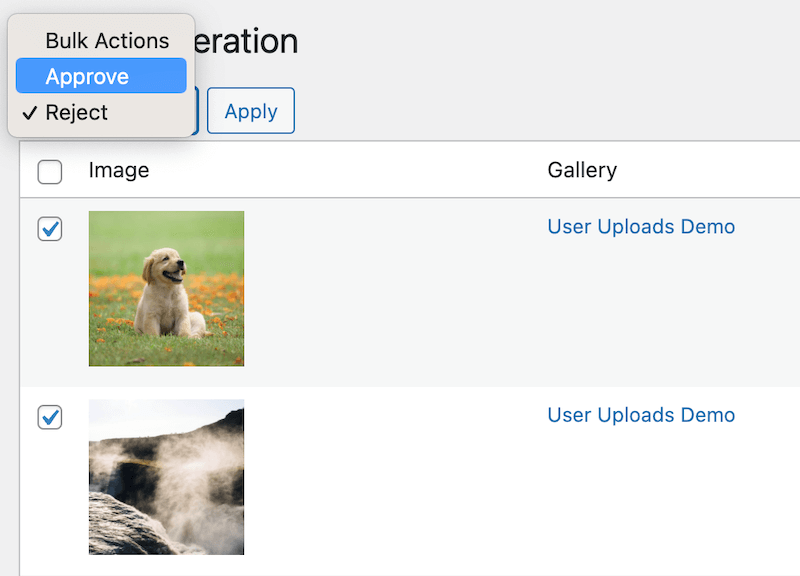
It is possible to bulk moderate images that have been added to your gallery. To do this, Navigate to FooGallery > Moderation in your dashboard. Here you will see all images that have been uploaded to any of your galleries that utilize User Uploads. Note that the relevant gallery will be displayed next to the image.
Select the images you wish to approve, click on the drop down on the top left of the panel and select Approve. Click on Apply to add all of these images to your galleries. You can then do the same for the images you want to reject.
Email Confirmation
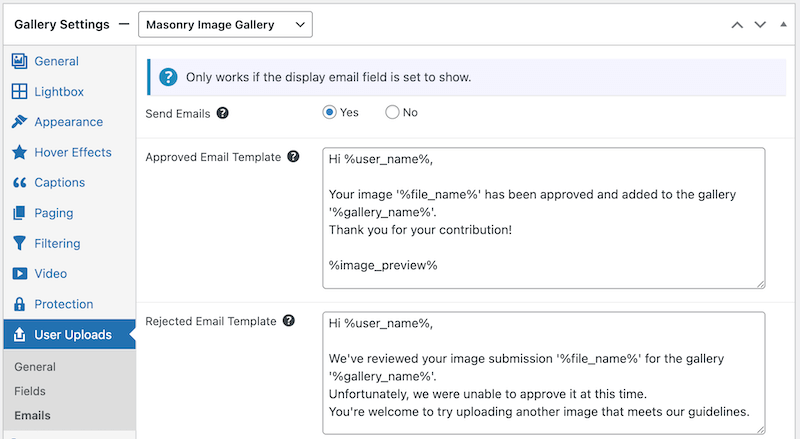
If you choose to collect user email addresses, you can also choose to send users a confirmation email once their image has been approved or rejected. You can find the email forms in the last tab under User Uploads in the gallery settings. The responses have been set to a default response and will send to users once their images have been moderated. However, you are also able to customize the emails to suit your needs.
Auto-Approval
User Uploads allows for auto-approval of images. Selecting this setting automatically approves images to your gallery, so they will not go through moderation. To enable this, locate the Auto Approve setting at the bottom of the User Uploads settings for your gallery and click on Yes. Update your gallery for changes to take effect.