FooGallery PRO now comes with Multi-level Filtering! This much-anticipated feature is designed to make frontend gallery filtering even easier, giving you improved user experience.
We’re going to take a quick look at what multi-level filtering is, what it means for your galleries, and how you can implement it.
What is Multi-Level Filtering?
To get started, let’s discuss what we mean by Multi-level filtering. Before now, FooGallery PRO allowed you to add frontend filtering to your gallery. This made use of the Media Tags or Categories assigned to your images to create filters. These would display above a gallery, allowing users to view specific images in the gallery.
The advanced filtering allowed you to select multiple (And / Or) filters. In this way you could view images that applied to multiple filters – either they would include all filters selected, or the gallery would show images that fell into any of the filters selected.
But you could still only include a single level of filters with any gallery. With multi-level filtering, that’s all changed! Now you can apply multiple levels of filters to your galleries. You can select multiple filters for each level, you can change the text for the ‘All’ button, and you can drag and drop the filters into the order you want.
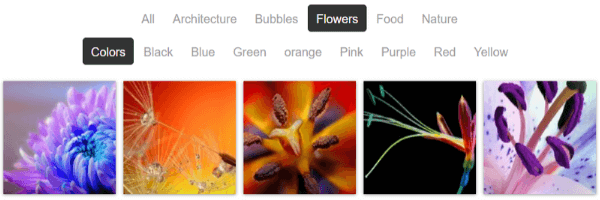
If you take a look at our demo gallery, you’ll see that we’ve chosen Art as the main subject of our gallery, using images from Pixabay. Here’s a screenshot:
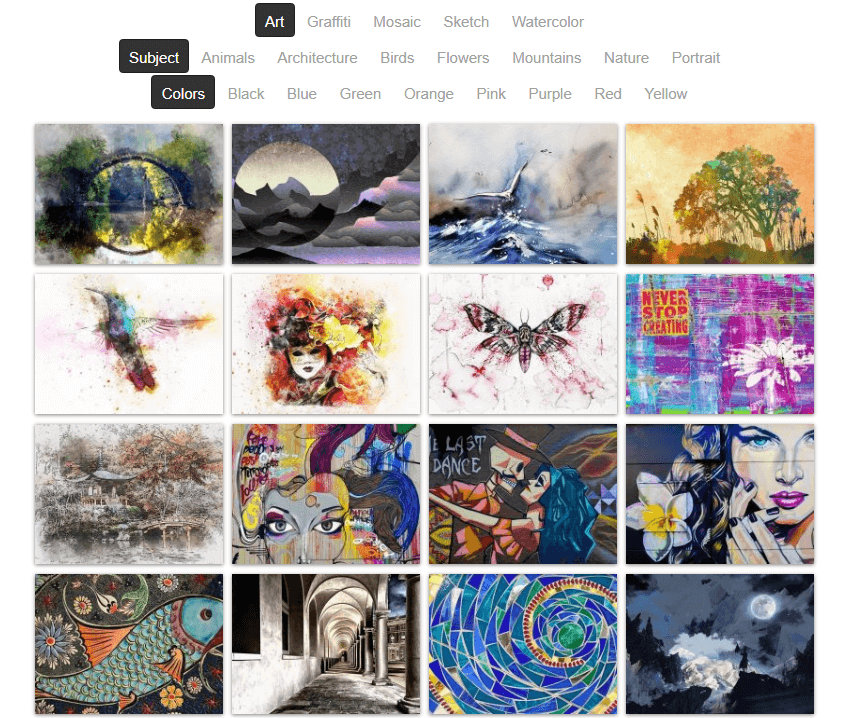
Our first level is the different types of art included in the gallery. Select any one of these, and you’ll only see the images that belong to that filter. If you go to the next level, you can select the subject of the art – animals, architecture and so on. Using the next level, you can refine your search even more by selecting the color.
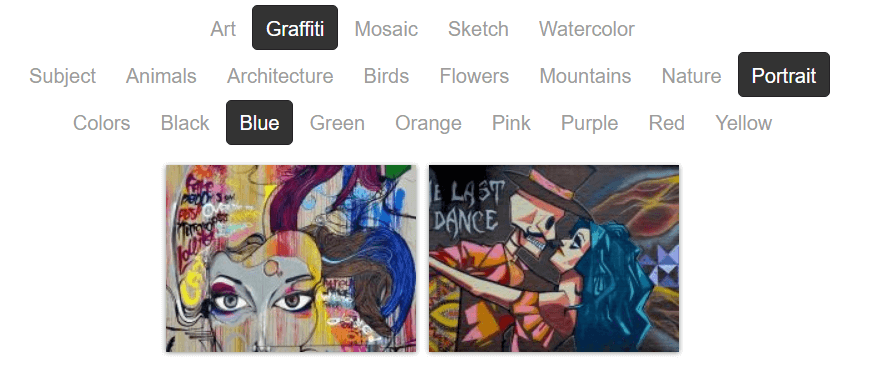
Here we’ve selected Graffiti as our first filter. Next we want to see the portraits that apply, and following that, those with the tag Blue. This is the result.
What Are The Benefits?
If you have large galleries, then using this type of filtering can greatly improve user experience. It makes it much easier for your visitors to filter galleries to find the images that they want to see.
This also makes it easier for you. If you want to showcase your work, then you’ll want to put together a portfolio of your art, photography, designs, or whatever the case may be. Instead of creating a gallery for each area of your work (for example, wedding, pregnancy and family photography), you can now create one portfolio gallery and add filters for each area.
The beauty of multi-level filtering is that you can take this a step (or many steps) further. You can differentiate between color or black and white photography. Or create a level of filtering for casual, garden or formal weddings. The options are almost endless.
How Does It Work?
Multi-level filtering is simple to apply. All you really need is FooGallery PRO – then you can add media tags or categories, and create your levels of filtering. Below, we take a look at the basic steps, but you can find a more detailed guide here.
Add Tags / Categories
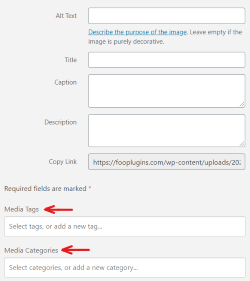
Filtering makes use of the tags or categories assigned to your images. With FooGallery PRO, you can do this from the Media Library, when you upload images, or by using the Bulk Taxonomy Manager from within the gallery.
Add Filtering to Your Gallery

Find the gallery to which you want to add Filtering (or create a new gallery). Once you have set up and styled the gallery, click on the Filtering Tab in the gallery settings. Select Multi-level.
Create Your Levels
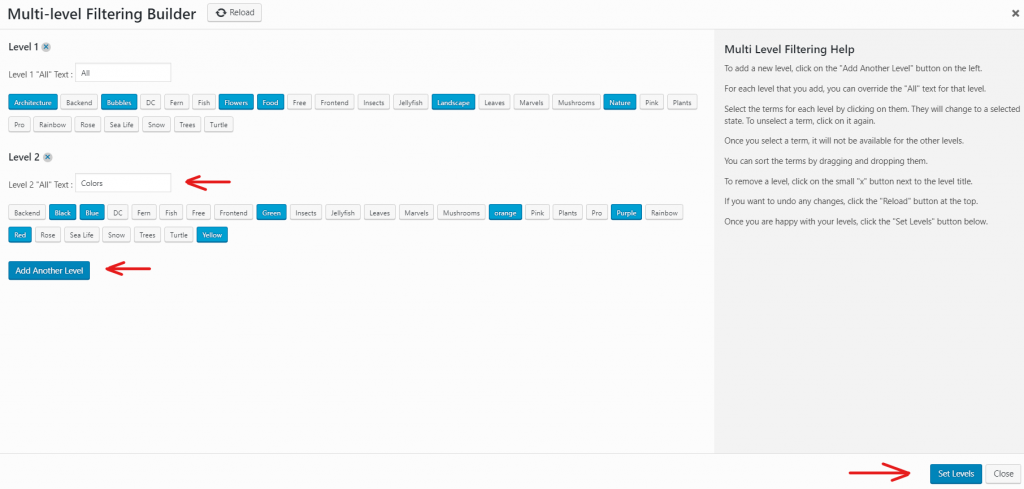
The Multi-level Filtering settings allow you to set your filter themes (light or dark) and to choose whether you want to use tags or categories. Once you’ve chosen your settings, click on Select Levels. A panel will open where you can set the filters.
For each level, you can choose the tags / categories you want to act as filters. You can drag and drop these into your preferred order. And you can change the text for the ‘All’ button.
Once done, click on Set Levels to apply the Multi-Level Filtering to your gallery.
That’s it! You can now publish or update your gallery and let your visitors enjoy searching your gallery for the photos they want to see.