FooGallery PRO’s latest feature, Gallery Filtering, comes with a number of Simple and Advanced Filtering settings. The Advanced Filtering gives you a bit more versatility when it comes to customising your gallery. Below are the settings, with a guide on how to set each up.
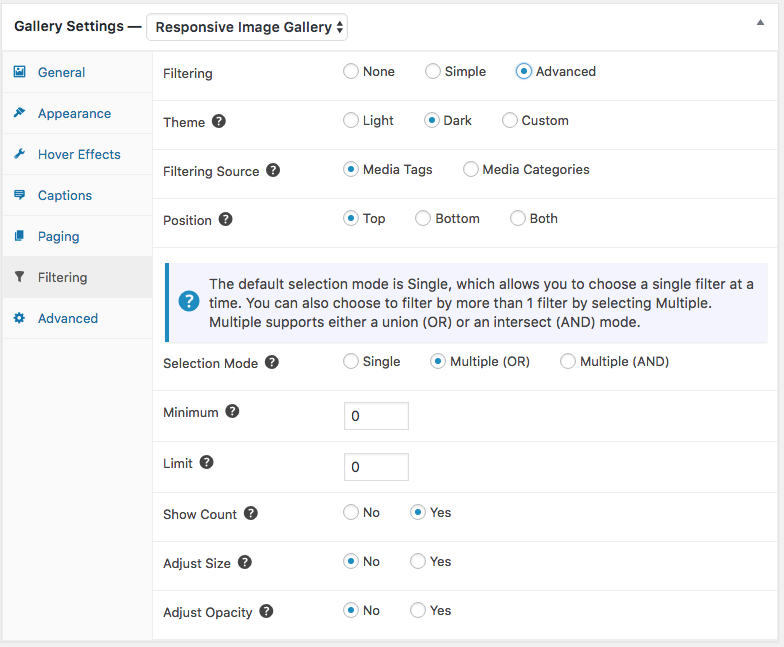
Selection Mode
You can change the Selection Mode from Single (the default) to Multiple. In the Multiple Selection Mode, you can show all images from two or more tags – this is under the Multiple (OR) setting. Or you can set it to show images that only feature in all of the selected tags – select Multiple (AND).
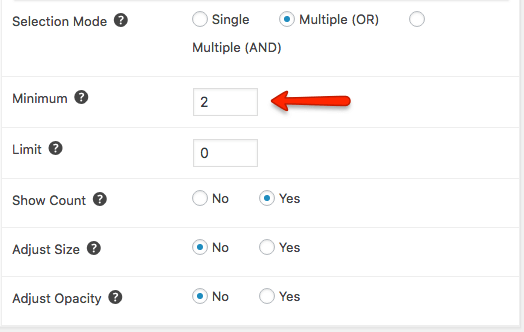
Set Limits
The Minimum and Limit buttons let you adjust which tags appear. Only tags with the number of images that fall within the specified range will appear. If you don’t want to add these limits, then simply leave it set to the default.
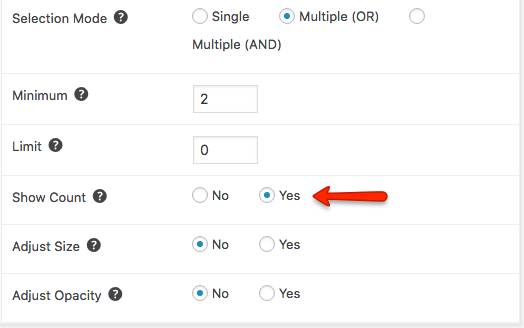
Show Count
The Show Count displays how many images fall under each tag – a number will appear next to each of the tags indicating how many images apply to each tag. For this feature to work, simply select Yes next to Show Count.
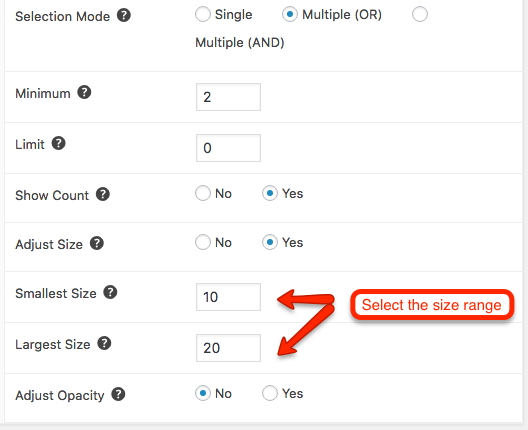
Adjust Size
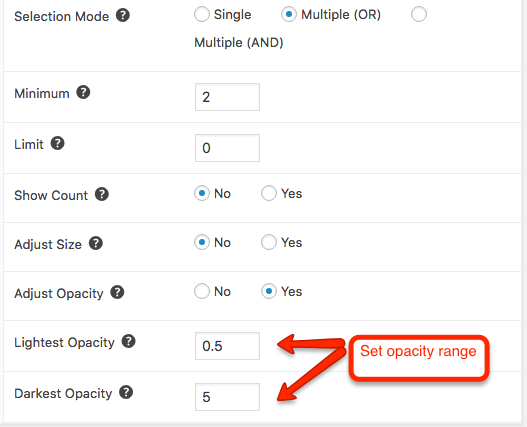
The Adjust Size setting changes the size of the Media tags or Categories, depending on the number of images under each. Tags with more images under them will appear bigger than those with less images. Select Yes under Adjust Size and then set your size range from smallest to largest.
Adjust Opacity
The final setting is Adjust Opacity. This adjusts the density of each tag is, depending on the number of images under each. To apply this setting, select Yes under Adjust Opacity and then set your density from lightest to darkest.
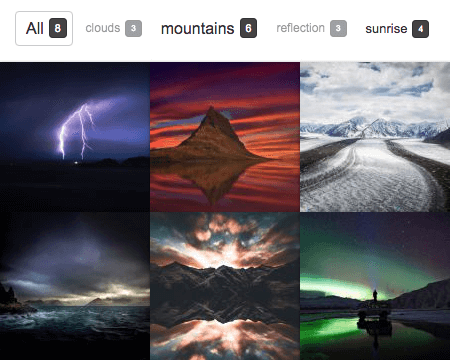
Gallery Demo
Here’s an example of how your tags will appear, if you apply all of the settings.
Or have a look at the Advanced Filtering demos for FooGallery PRO. Download FooGallery for yourself now, or upgrade to FooGallery PRO.

