FooGallery PRO now allows you to build custom captions for your gallery thumbnails. You can create and style your own unique captions, giving you even more options when it comes to customizing your gallery. With this feature, your options for building and styling captions are unlimited.
The captions make use of existing metadata fields, which can be coupled with HTML to give you your captions. You can also make use of other plugins to generate more fields from which you can pull your captions.
Below, we take a look at some of the many ways you can use custom captions for your gallery. We’ll also take a quick look at two custom field plugins that we’ve tried and tested with FooGallery PRO.
Practical Applications for Custom Captions
The ability to build your own captions gives you far more control over the appearance of your thumbnails. You can also create custom captions for your images if you’re using the FooGallery PRO Lightbox, so you can show alternate captions on your images once they open in the lightbox.
The Custom Caption Template allows you to add image captions based on the available metadata fields. For example, your image may include a title, custom URL, description and so forth.
By using a custom fields plugin you can create additional fields. Some examples could be Product Price, Photographer, Product URL, Location, and so on.
Then, by using HTML or Custom CSS, you can style your gallery captions. You can add line breaks, make fields bold or italic, and change the font or color of a field. You’re also able to add hyperlinks, or even a Buy Now button.
Let’s take a look at how this displays in a gallery.
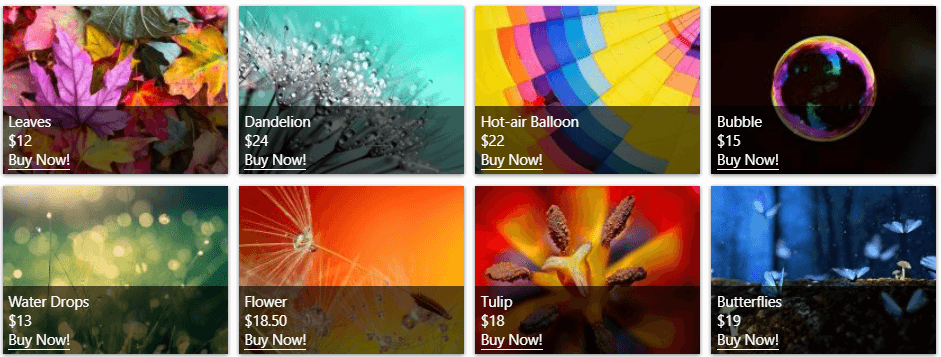
The above screenshot shows how you can set your captions to always be visible, although you can choose to display only on hover. For this gallery, we’ve used fields to show the image name and price. We’ve also added Buy Now text, which is hyperlinked and can be used to redirect buyers to a checkout page.
This is ideal for photographers or artists. You could take it a step further and include a link to the artist’s profile. Other applications could include Real Estate – use captions to give the location of the property and link to the property page. Or create a staff portfolio, with each staff member’s name, position, and a link to their profile.
In short, with custom captions you have even more ways to customize your gallery.
How Does It Work?
FooGallery PRO searches for and identifies the available metadata fields. It then displays these as placeholders in your gallery settings. You can then select the fields you want to display as your captions and add them to the caption template.
For example, the gallery featured above uses this as the caption template:

You’ll see that it includes some basic HTML to build in line breaks and a link to the product URL. We’ve also added text in the form of the dollar sign, which appears ahead of the price. (Note that any text you include will display on all of the images in your gallery.)
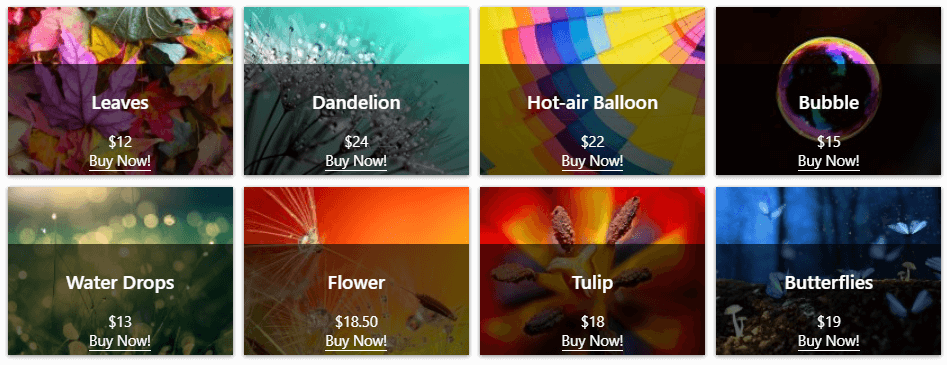
But you can make a variety of changes to your captions, just by adding to the HTML. For example, we’ve taken our caption a step further with the following template. We’ve changed the name to a white H3 header, made the price slightly bigger and added a bit of custom CSS to center the text.
Here is the template we used:

With the following custom CSS:
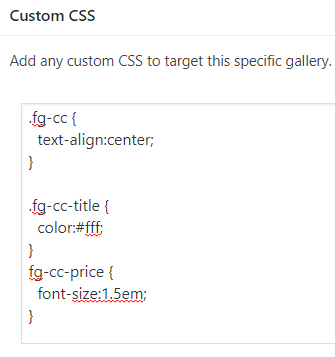
And this is the result:
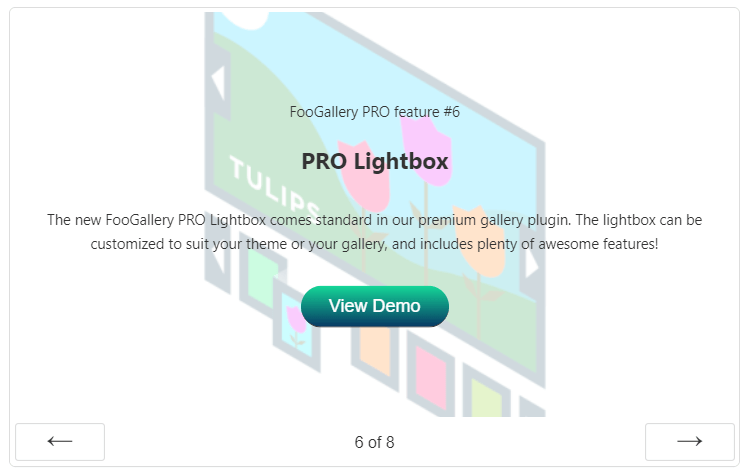
You can, of course, create even more advanced captions. Just take a look at our demo!
For a more detailed guide on how to add and use custom captions with FooGallery PRO, read this article.
Custom Field Plugins
As mentioned earlier, using additional plugins to add custom fields to your media files can increase the number of fields available to you for your gallery captions. We’ve tested this feature with two popular choices: Advanced Custom Fields or Pods – Custom Content Types and Fields.
Advanced Custom Fields (ACF)
ACF is easy to use and allows you to add fields and set rules for where they appear. You’ll want to set these fields to display on Attachments, for all image formats.
Once the fields have been created in ACF, you can populate them on your gallery images and use this to generate your custom captions. You’ll see the available ACF metadata in the block below the Custom Caption Template. Simply copy and paste these into the template, as described above.
Pods – Custom Content Types and Fields
Pods works in a similar way. The main difference is that you first need to create a Pod, in this case, a Media Pod. This will determine where the fields are displayed.
You will then create fields within your Pod, which will display for relevant media items. You can add information to these fields from the Media Library or by editing images from your gallery. Once you’re done, add the Pods placeholders to your Custom Caption Template.
Our article on Using Custom Captions explains how to use both ACF and Pods in more detail.
Final Thoughts
The ability to customize your captions means that you now have more control and more flexibility over how your captions display. You are no longer limited by what your captions say, or how they say it.
You can also use your captions to improve user experience with the use of hyperlinks or buttons. These can make navigation easier and help your visitors find exactly what they’re looking for.
Best of all, it’s easy to create your own custom captions!
The Best WordPress Gallery Plugin
FooGallery is an easy-to-use WordPress gallery plugin, with stunning gallery layouts and a focus on speed and SEO.