You know what grinds my gears as a reader? Not having an easy way to pin articles!! What is “pinning” you ask? It’s a way to share an article on a site called Pinterest to over 100 MILLION USERS!
Dead serious.
Pinterest is up there with Google (pins from Pinterest are indexed by search engines), and YouTube as go-to places to search for information online. So if you have articles you’re sharing, and would like to amp-up the way your information is being shared… Make sure your images are pinnable!
We’ll go over 5 steps to make your posts Pinterest-ready, so you can set it, and forget it. 😉
Step 1: Create (at least) One Pinterest-Optimized Image
Maybe your article doesn’t need any photos, or you think something like an infographic is too complicated to make without something like InDesign or Photoshop.
Fear not! Canva is here!
Canva is a drag-and-drop graphic design tool where you can quickly make practically any type of image for anything from an ebook cover, to an Instagram post.
They give you a template, and you drag-and-drop every element you desire to add to it! The end result is a sleek-looking graphic or photo.
Don’t worry, Canva is very tech-friendly, and even if you’re still lost when signing in for the first time, you’ll get as many free tutorials as you need to get started.
Plus, having that template will keep your site’s images cohesive, and branded (so people will think of you and your site when they continuously see them online).
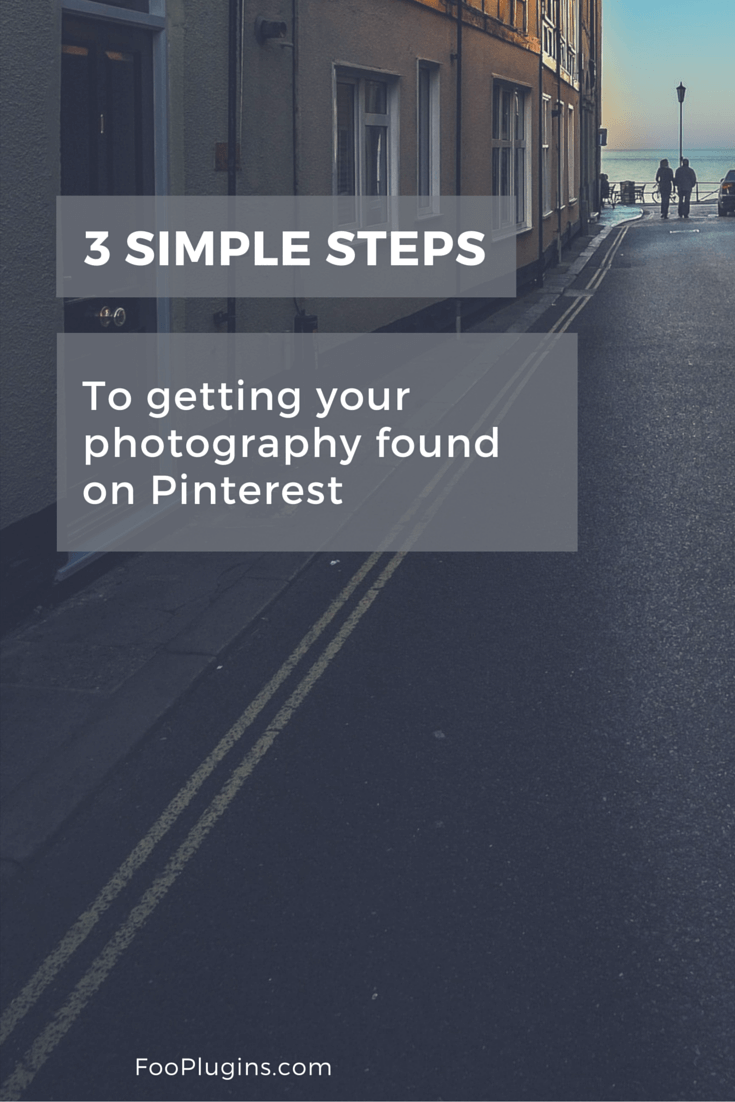
Why You Need a Pinterest-Specific Image
I hope you didn’t scroll past my section on HOW to add a Pinterest image to your site, because any ‘ol image simply won’t do!
I mean, it’ll do… It’s an image, and can be pinned! But the best performing images on Pinterest are vertical images with text overlays. Both of these can be achieved through Canva. If you don’t want to use Canva and are graphic tech-savvy, go ahead and create it on Photoshop, InDesign, or something free and similar to Photoshop like Gimp or Pixlr.
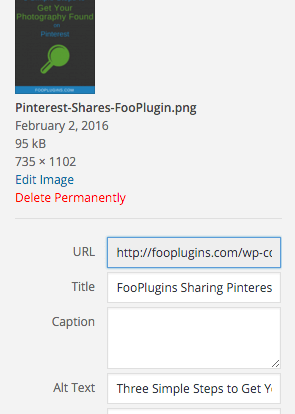
Step 2: Add Alt Text and Description with Keywords to Your Image
When adding the image to your post, be sure to write in something meaningful in the “Alt Text” and “Description” section!
You see, every time someone tries to pin an image of yours, the description that comes up is based on what is entered in the Alt Text and Description fields. It’s important to make things as easy for readers as you possibly can (this makes actions you want your readers to take, more likely to be done!).
And this isn’t just a Pinterest thing… it’s good Search Engine Optimization. So descriptive keywords are important here.
If you’re lacking creativity, just re-write your post’s title into the alt field. So make sure your title has keywords in it as well (because SEO counts in your title, too).
Step 3: Add that “Pin It!” Button!
Social share buttons along the side of your site is a grand thing to have, but nothing’s wrong with one or two more ways to share your content!
With the Pinterest option of the social share button, it pulls all the pictures you used in your post for the reader to choose from, to pin onto their Pinterest board. Depending on what type of article you’re publishing (like a step-by-step walkthrough), it can be a lot of photos! So make sure each one has keywords and some sort of description in the alt and description areas.
But another way to make pinning photos easy for your readers is to have a “Pin It!” button on your image! I’m sure you’ve seen some sort of “P” floating around as you hover over articles on other sites, and that’s what it is.
Click the button, and that particular image can get pinned onto a board of choice on Pinterest.
There’s plenty of Pin It plugins out there, but the one I use is FooBox Pro. It offers the Pinterest share option as well as many other optional social networks.

Viola! Simple Pinterest-Sharing of Your Posts Automated!
It’s beautiful! Simply beautiful!
With these three simple steps, you’ll make it that much easier to get your work out there. And trust me, your photos will speak a thousand words with these strategies to help you stand out in this overly-saturated online world.